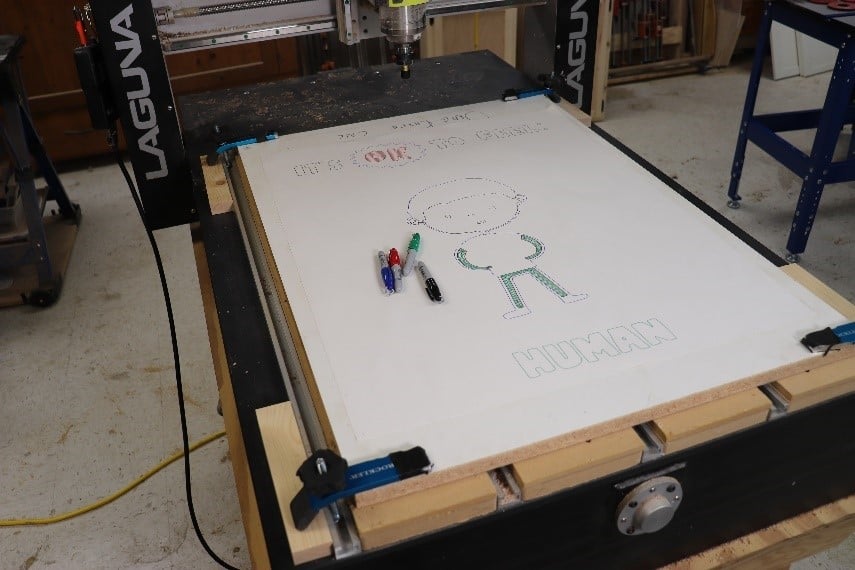
Did you know you can use felt tip markers instead of router bits in your CNC? This allows you to use the CNC routers as a plotter. No special software is required. You can do the design and toolpath in VCarve Pro.
The plotter pens
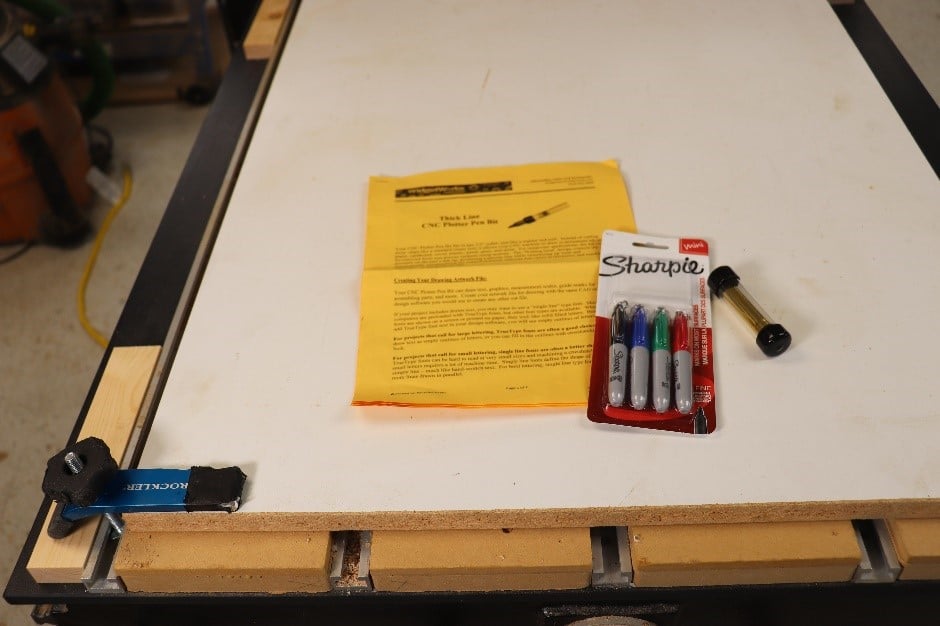 The work is done with a plotter pen bit from WidgetWorks.
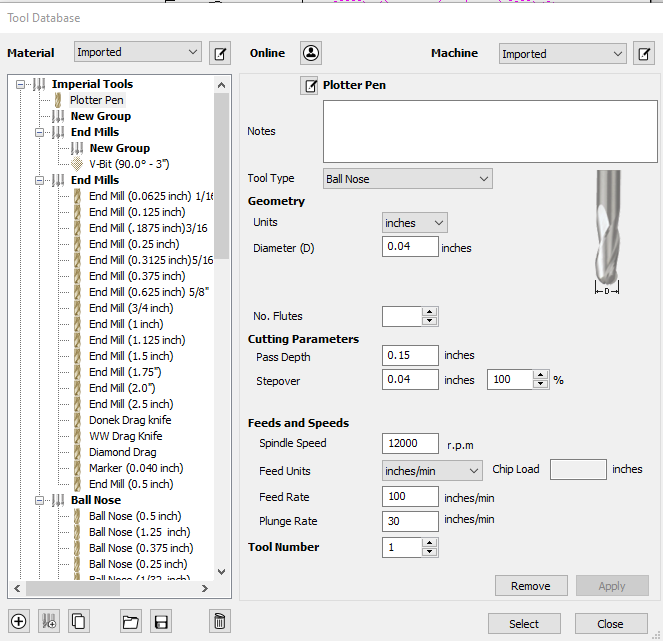
The instructions that come with the kit are excellent. Simply follow those instructions to add the plotter pens to your tool database.
Your design and toolpaths
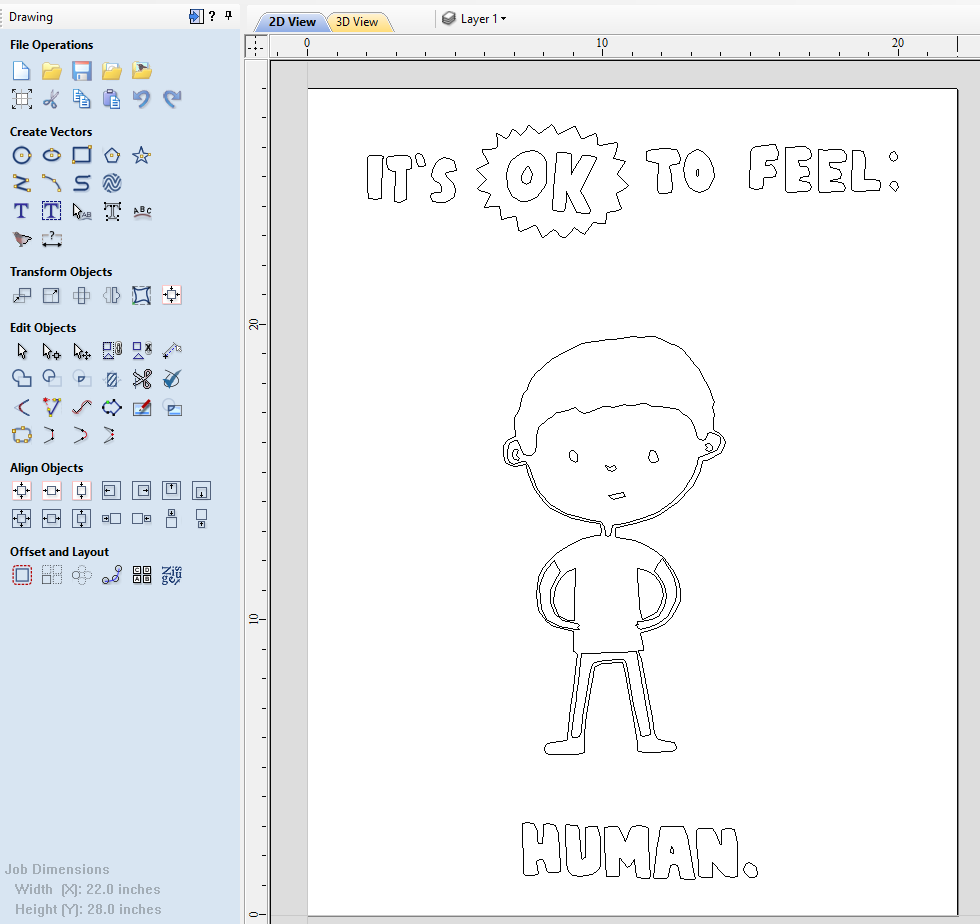
Create a new file and add the design you want to plot. This could be clipart you get from the web or a hand drawn design you’ve scanned as a JPEG. This article includes information on using Trace Bitmap to convert JPEGs into vectors.
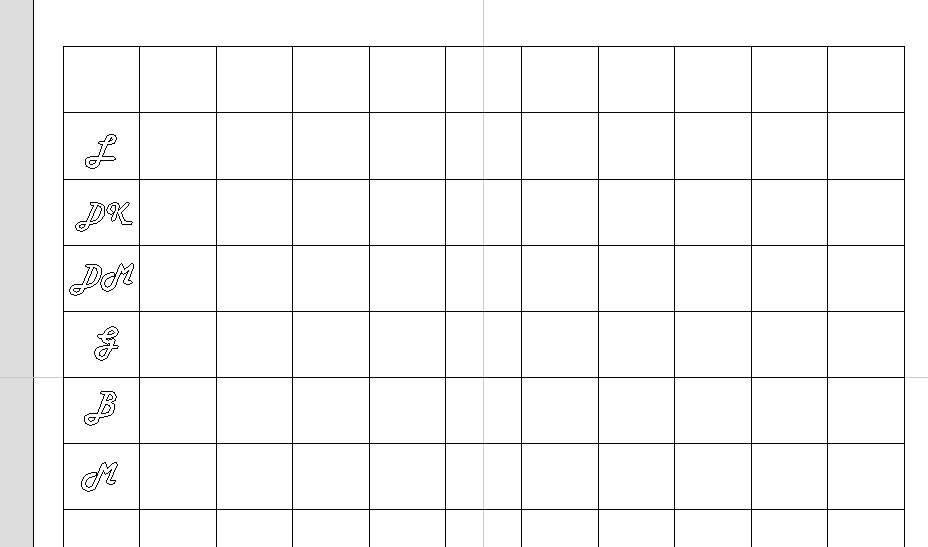
Using your CNC as a plotter doesn’t have to only be about drawing artwork. If you need a large chart you can use the design tools in VCarve Pro to create a grid and use the text function to add names or initials. The more you play with this set up the more uses you’ll find for it.
Toolpaths
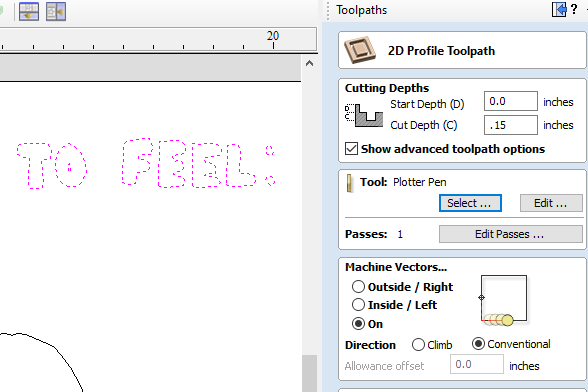
Select a portion of the drawing and choose a toolpath. The 2D Profile Toolpath, set to “cut” On the line, will trace the outline of the object you selected. Reference the instructions that come with the kit for information on Cut Depth and other toolpath settings.
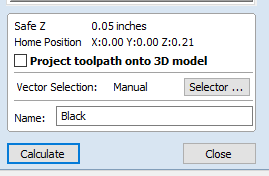
If you’re creating a multi-color drawing be sure to name the toolpath with the color you want to use for that specific toolpath. Click Calculate. Create a separate toolpath for each color you want to use in the drawing.
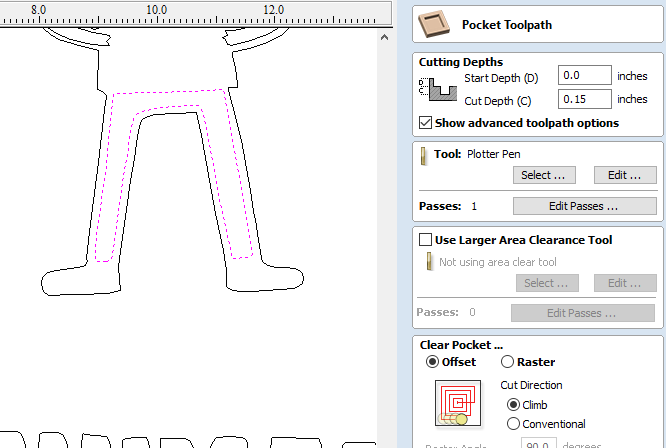
The Pocket Toolpath can be used to fill in the selected area. Think of the work a router bit would do excavating the waste. The tip of the pen will move in the same way, leaving curved lines behind.
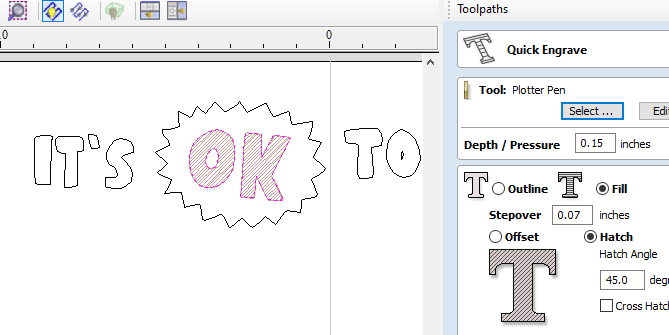
Use the Quick Engrave toolpath to outline and fill the object you selected. Change the Stepover to change the opacity of the fill. A small stepover puts the lines closer together for more opacity. You can also change the Hatch Angle to get different looks. This article includes more info on the Quick Engrave toolpath.
Preview the toolpaths
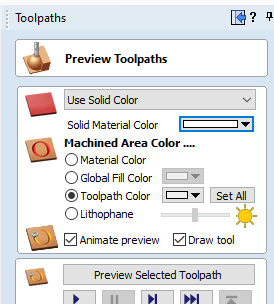
In Preview Toolpath click the material drop down menu at the top and choose Use Solid Color. Click the color menu to choose the color of paper you’ll be using. In this case it’s white.
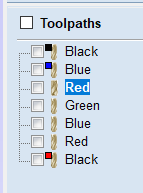
In Preview Toolpaths go to your list of toolpaths and highlight a color.
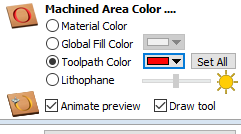
Select Toolpath Color and use the color menu to assign the correct color to that toolpath.
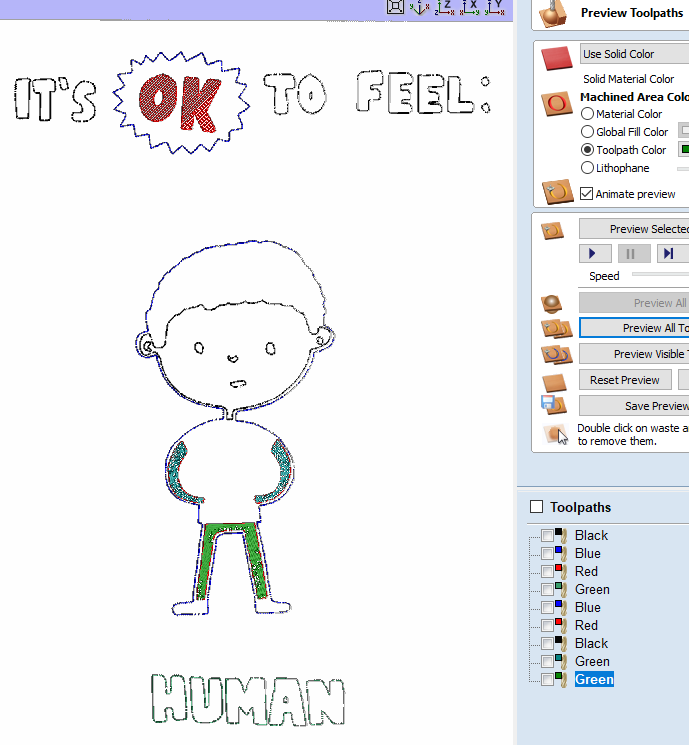
With the color settings correctly set Preview Toolpaths will provide a good representation of what your artwork will look like when it’s complete.
Output the toolpaths
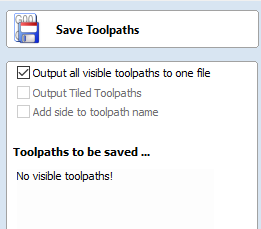
Go to Save Toolpaths and, if you’re using multiple toolpaths and multiple colors, check Output all visible toolpaths to one file.
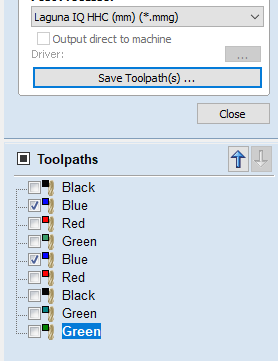
Select like colors, click Save Toolpath(s) and save the toolpaths to a flash drive. This causes the CNC to run each of toolpath that uses the same color to run back to back.
Plot your drawing
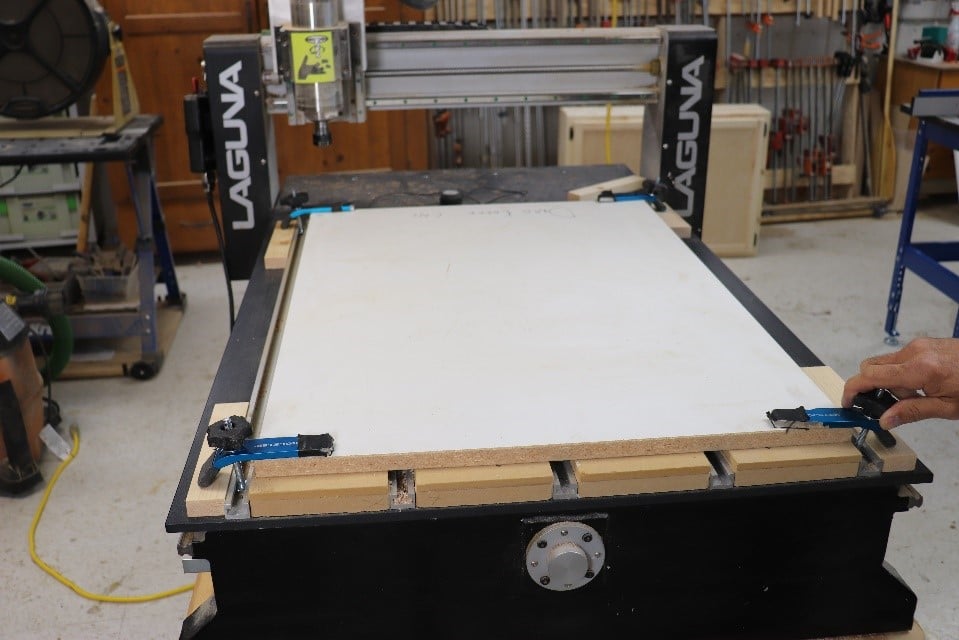
Add a flat piece to your spoilboard. If you simply fasten the paper to the spoilboard the pen might get caught in the low spots created by the T-track. Melamine or MDF works great for the flat stock.
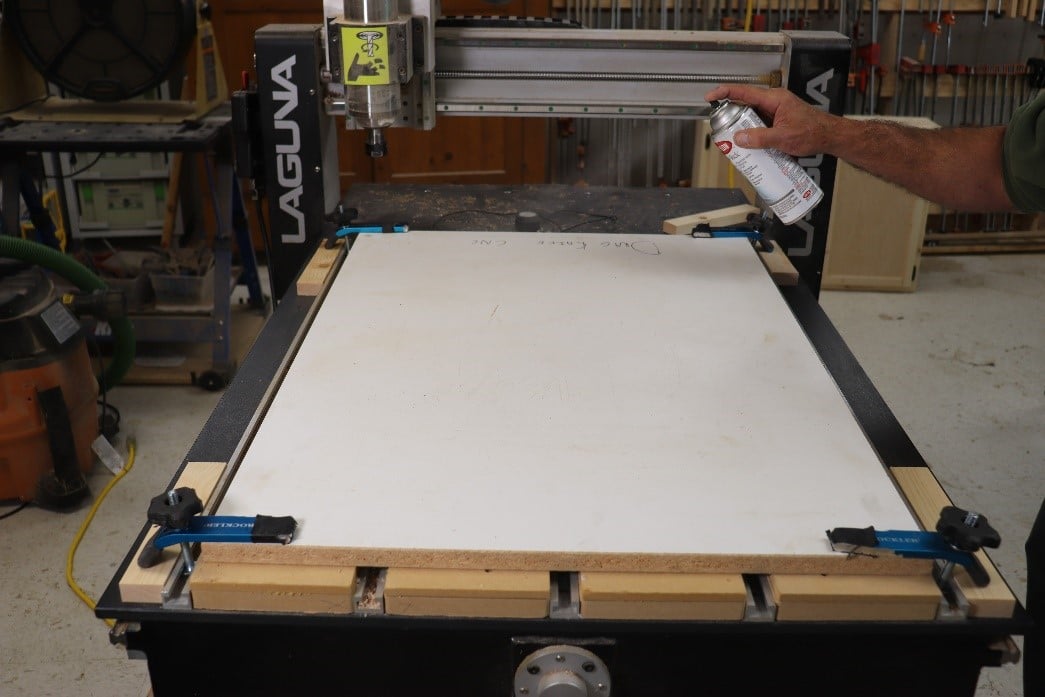
Put a light coat of temporary spray adhesive on the board.
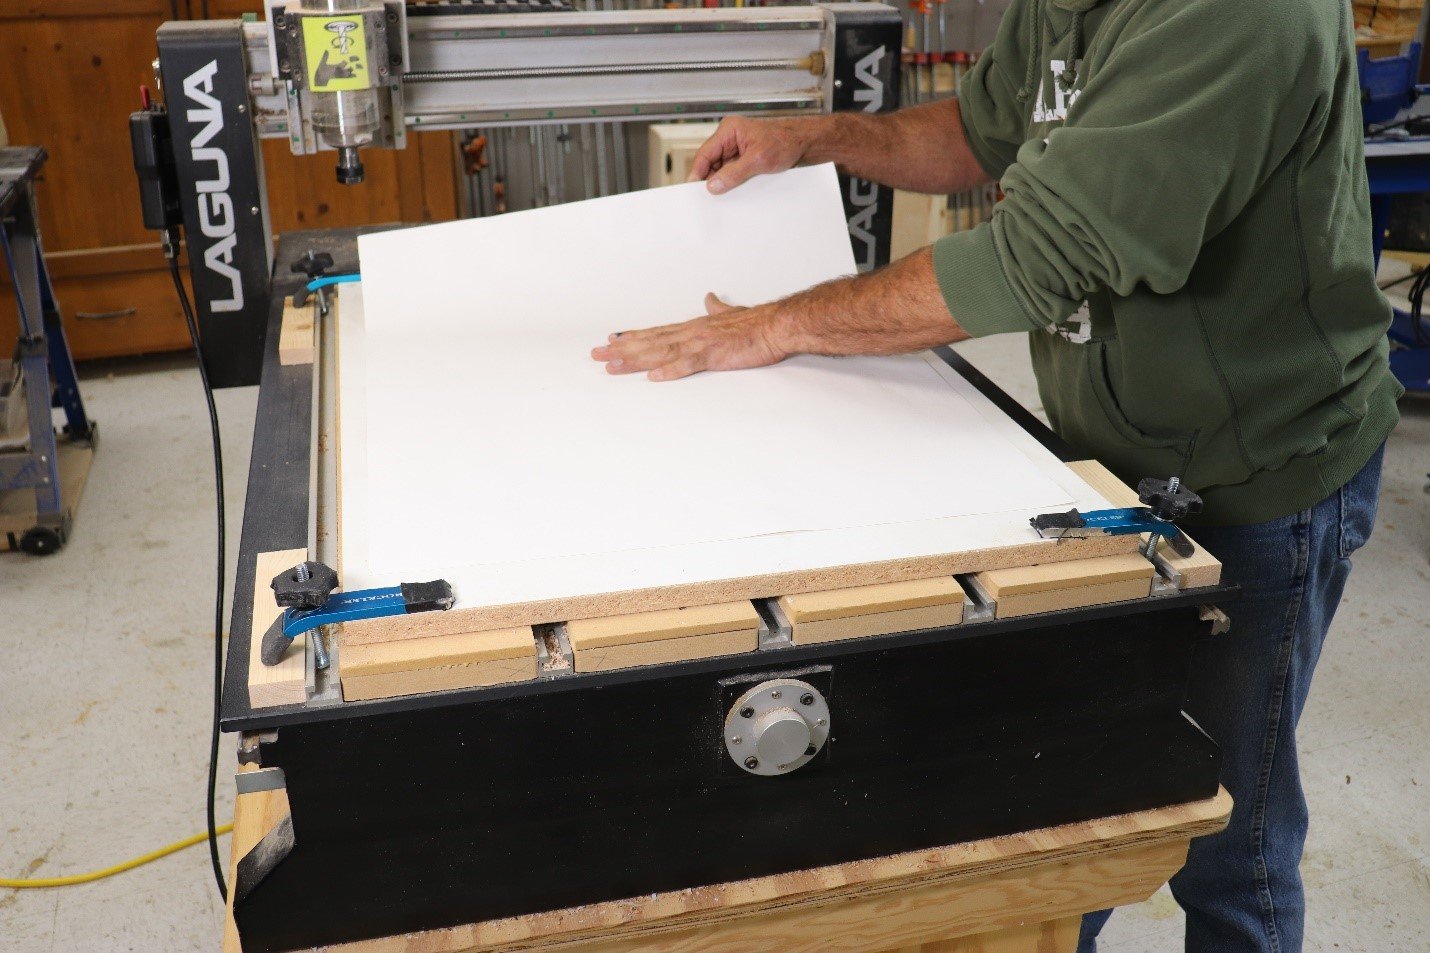
Secure your paper or poster board to the CNC.
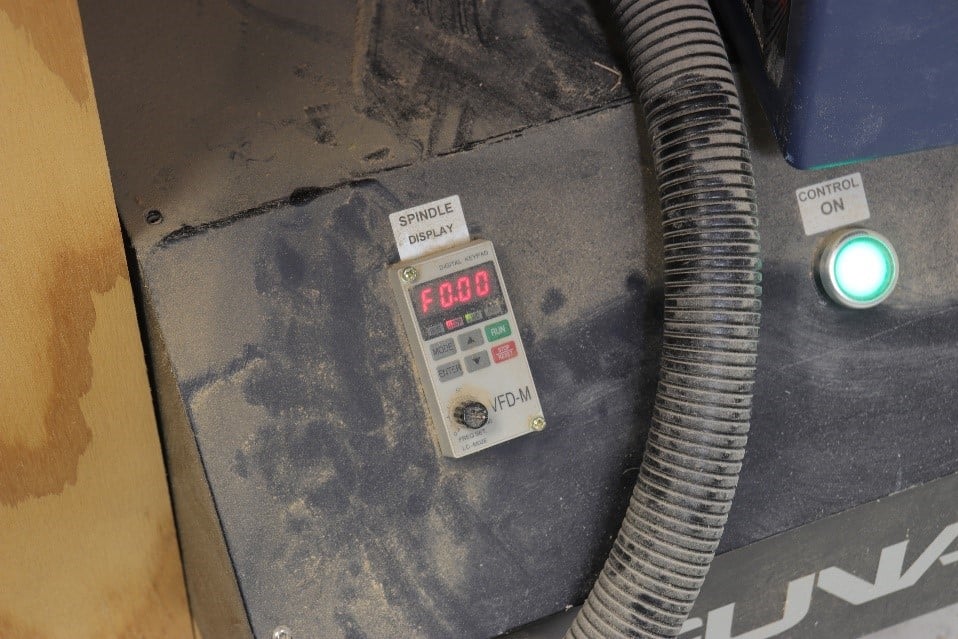
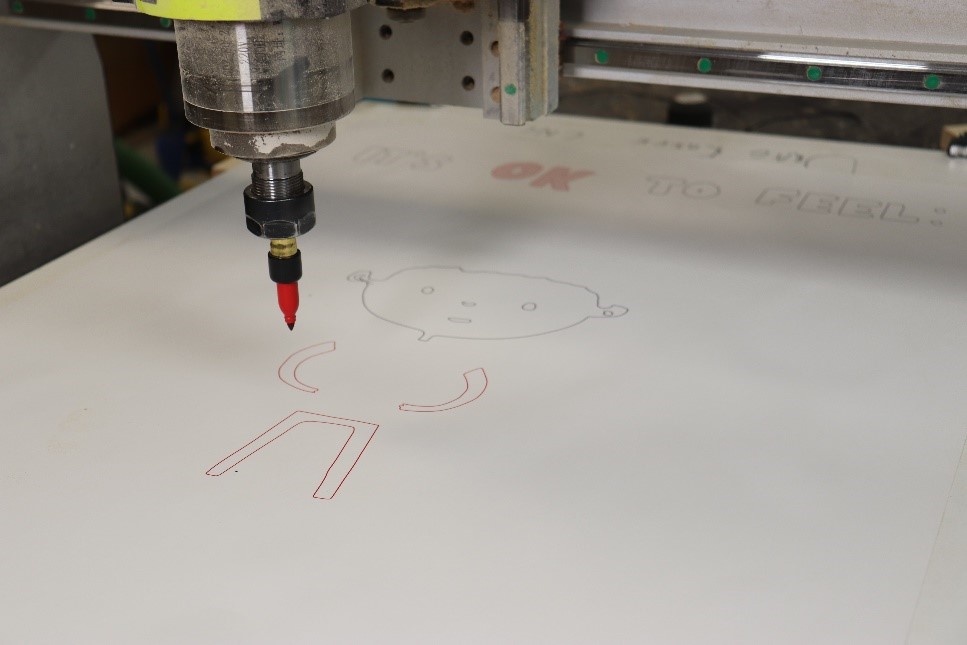
Turn the spindle off or set the RPMs to zero.
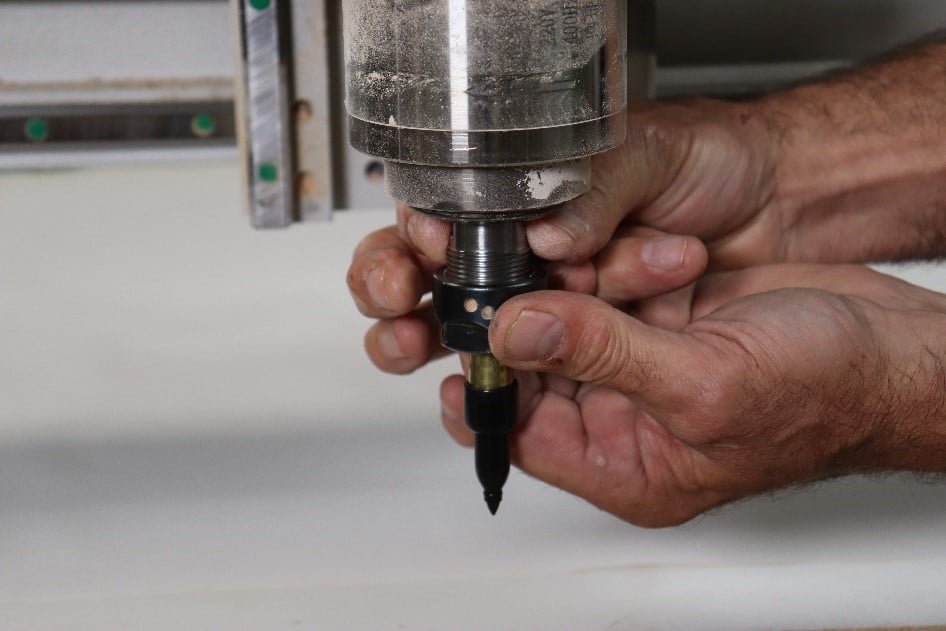
Install a felt tip marker. Follow the manufacturer’s instructions for gently tightening the collet.
 Zero the X and Y axes. Zero the Z axis by slowly lowering the marker toward the paper. When it is just touching the paper, zero the Z axis. You can’t use a touch plate with felt tip markers.
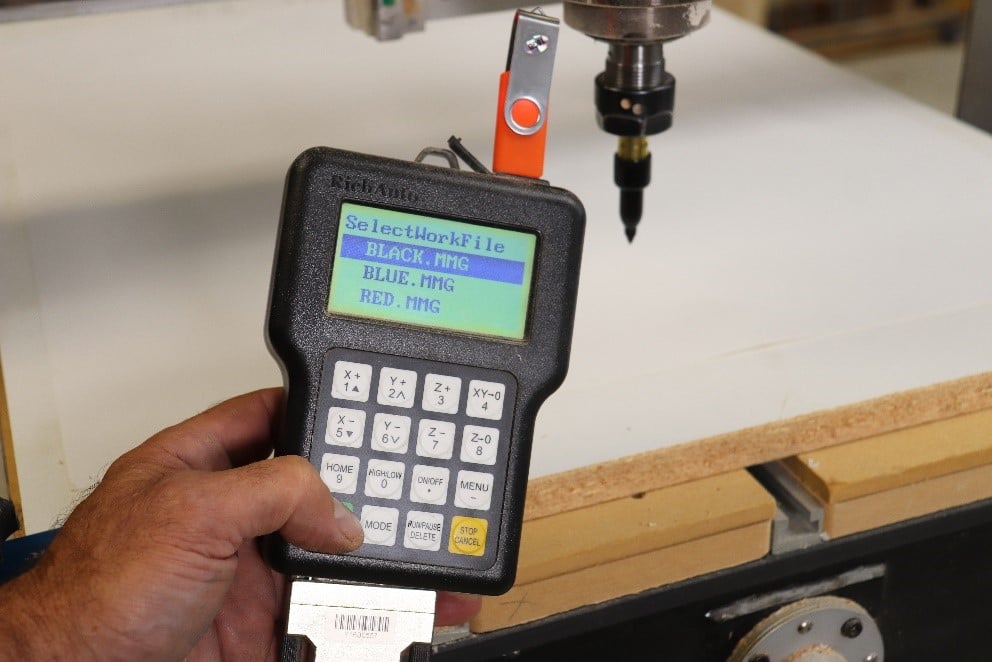
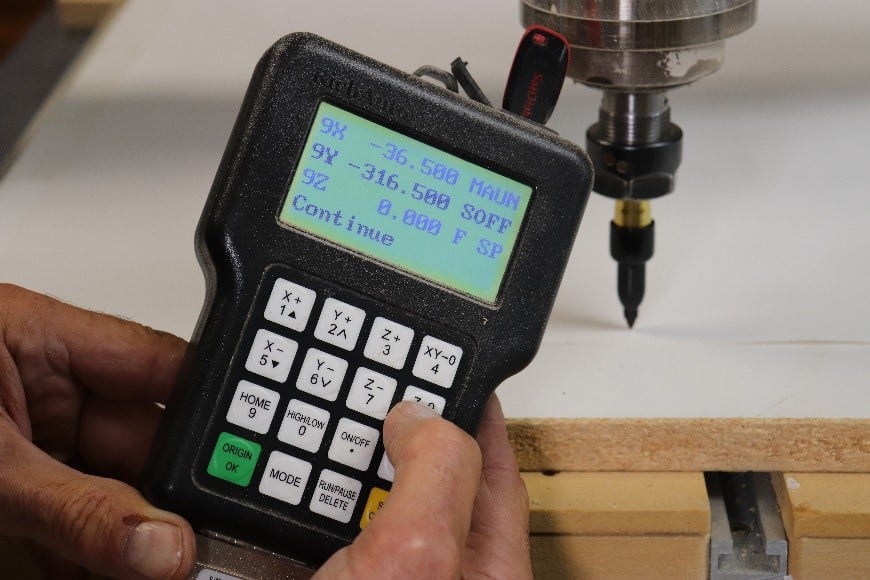
Open the toolpath for the color of felt tip you have installed.
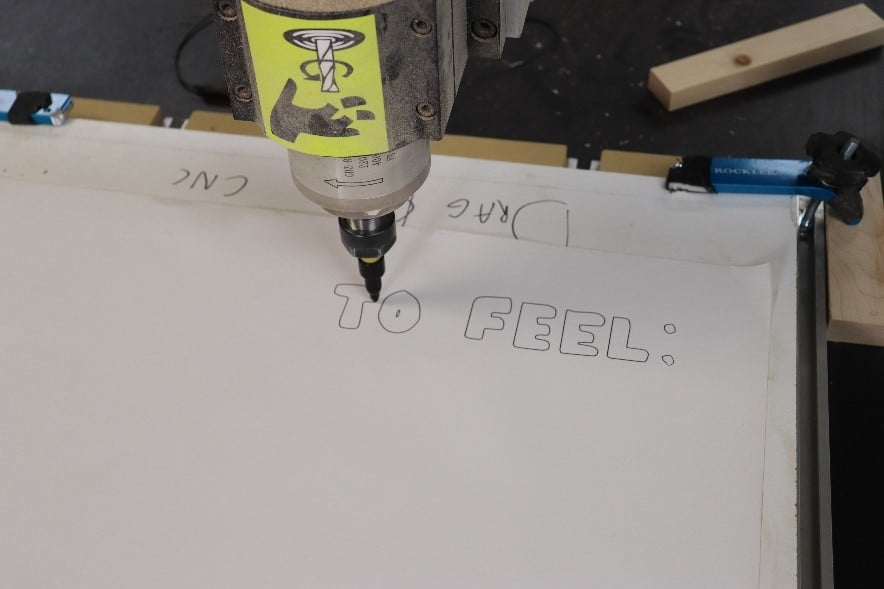
Run the toolpath.
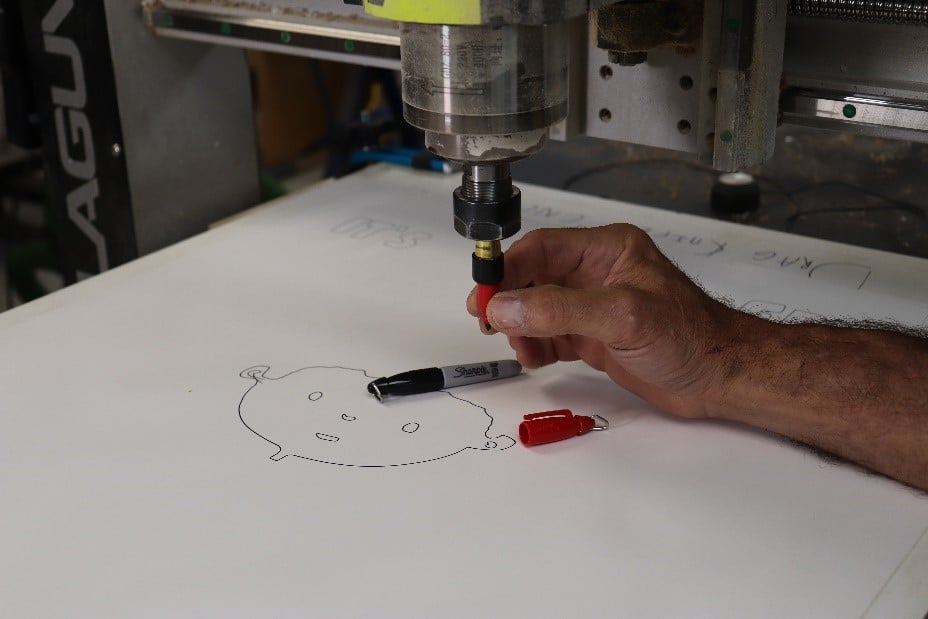
When one color of toolpath is complete, swap felt tips…
…and run the next toolpath…
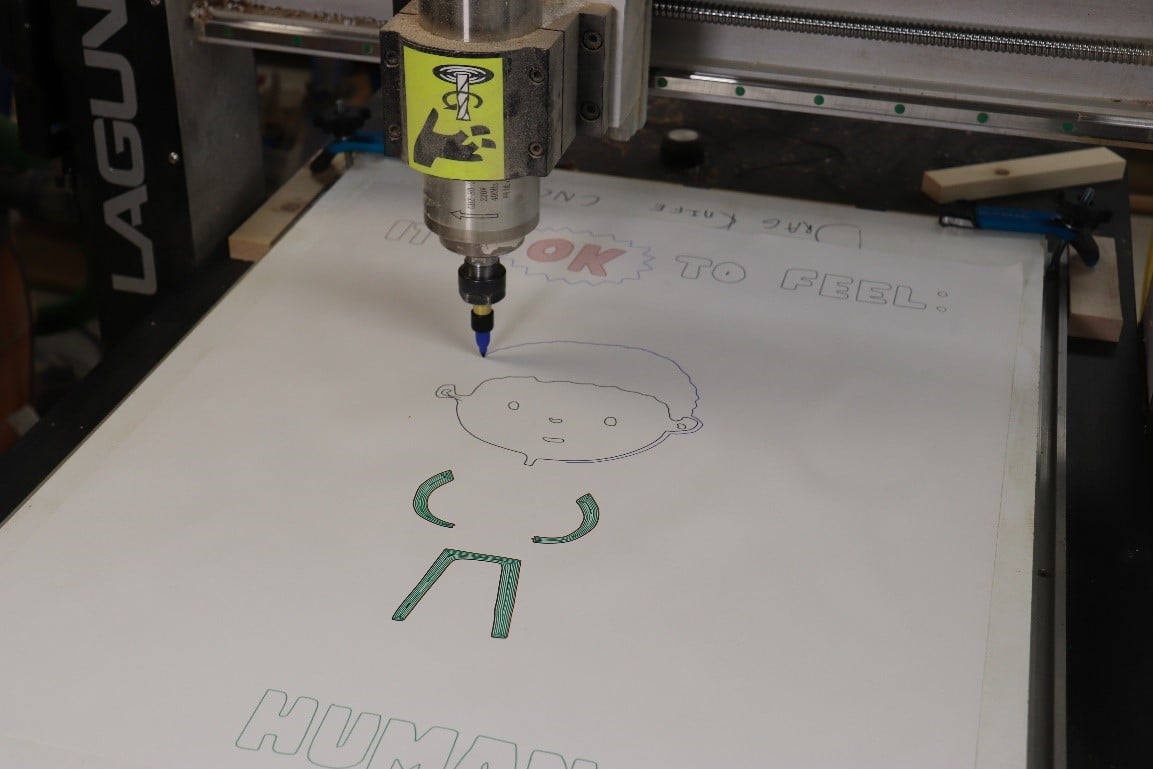
…and the next one, until all the colors are complete.
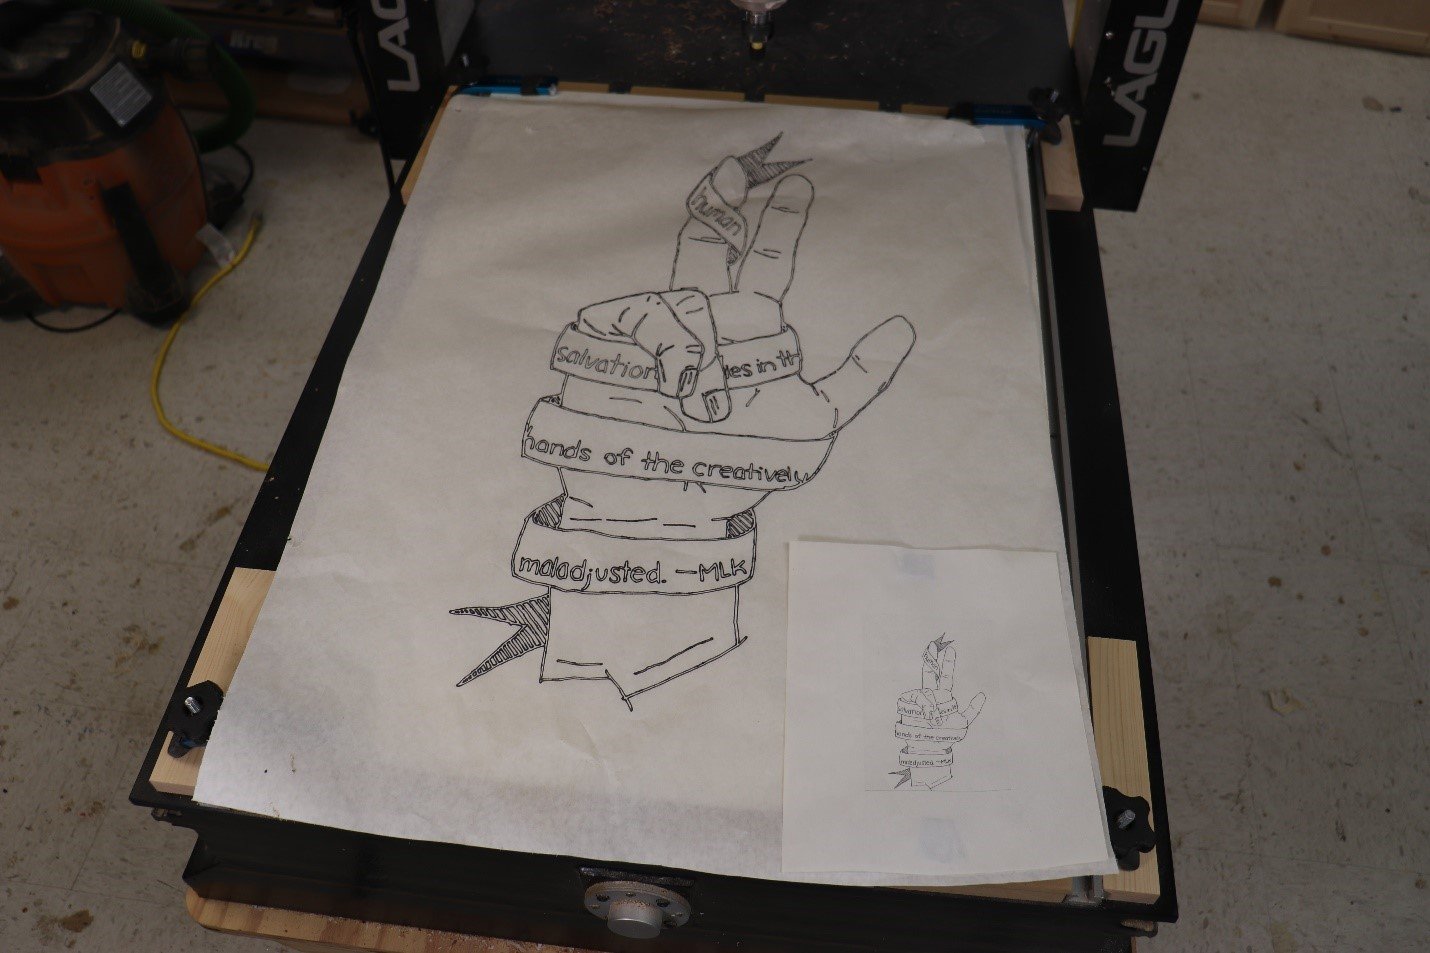
Plotting on the CNC is a blast. My daughter hand drew the small piece of artwork in the lower righthand corner and I “redrew” it using the CNC, expanding it to poster size.
Experiment with the process and set up, and you’ll find lots of uses for this technique.


