One of the most heavily used projects that I’ve ever made is the berry bowl which I use every day, often multiple times. In all of my years perusing craft shows and art fairs I’ve never seen another wooden berry bowl (only pottery versions), which leads me to believe that it is unique and that you could make some money from this idea if you participate as a vendor in such venues. There’s no reason for our ceramic crafting brethren to have an exclusive on the red hot berry bowl market.
At its essence the berry bowl is simply a turned wooden bowl with some holes drilled in it, but here are a few tips to make your berry bowl the best that it can be.

Start at the bandsaw. By cutting your blank to a round shape on the bandsaw before mounting onto your lathe, you can speed up the process. This approach also makes the initial rough turning much safer because the bowl blank is more balanced and less likely to cause vibration on your lathe.

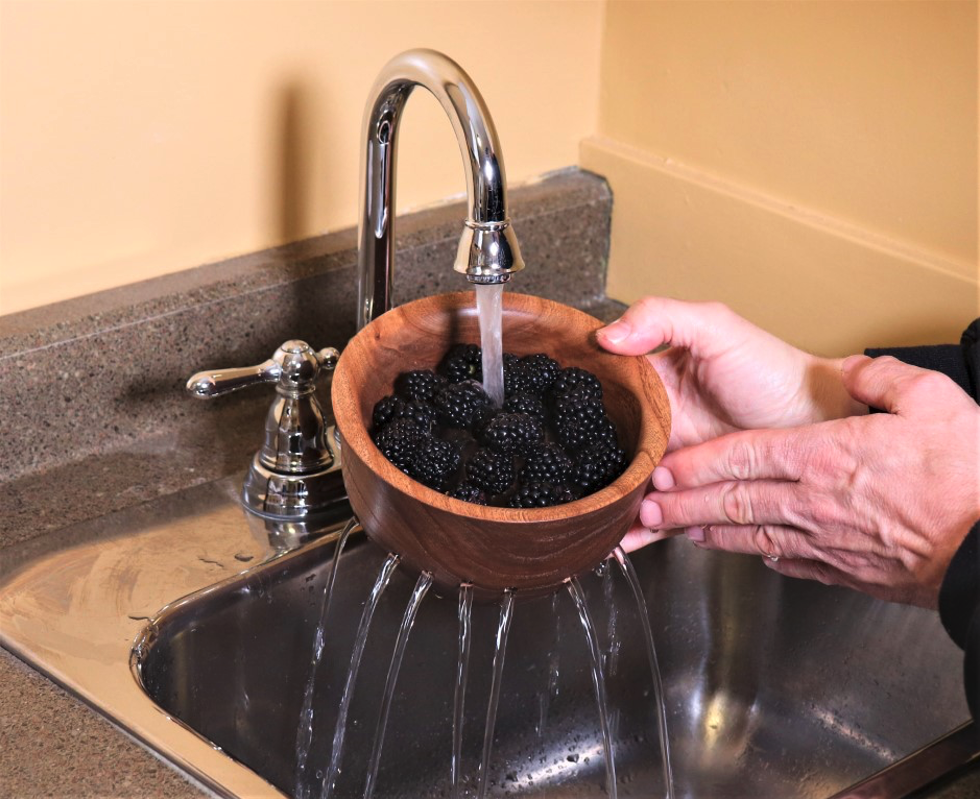
Wall thickness. Normally for a smaller bowl I would target a wall thickness in the range of 1/4” to 3/8”, but when they are this thin I’ve had problems with them cracking due to the heavy use. The drain holes cause heavy moisture exposure, beyond what a normal bowl has to endure. By leaving a wall thickness of 1/2” to 5/8” the bowls seem to have better durability and are not prone to cracking.
Wood color selection. I prefer to make my berry bowls from darker wood species such as cherry or walnut. When berries are ripe they can leave stains in light woods that are difficult to remove, and by starting with a dark wood the stains are barely noticeable if at all. You might also want to choose a wood species that matches other accessories in your kitchen such as cutting boards, serving trays, salad bowls, etc.

Determine hole spacing. This step gives you an opportunity to utilize the indexing system that comes standard on your Revo lathe. Determine the number of holes that you want around the perimeter, and use the indexing system to space them evenly for you.

Additional protection. The stain that I used provides some water resistance, but to increase and prolong the protection and add a couple coats of Pitas Wood Wax. If the bowl is used daily, I find that a monthly re-application of wax keeps the bowl looking great and the water beading up which helps extend the useful life of the berry bowl.

Drilling drainage holes. Notice the piece of blue tape to the left of the drill bit in the photo. This serves as an alignment aid so that position the drill consistently for each hole, while the indexing system sets the proper rotation distance between holes. I used a 1/4” bit which provides ample drainage without allowing berries to slip through.

Bottom holes. Drilling a larger number of holes in the side walls allows the water to drain quickly so that you don’t have to stop the water to allow for drain time, but it only drains the bowl down to the level of the bottom of the holes. To ensure complete draining of the bowl, drill a few holes through the bottom in a simple pattern.
If you are interested in seeing some other cool turning projects, check out the playlist of woodturning videos on the ToolMetrix YouTube channel.


