Even the most hard core power tool woodworker needs a couple good block planes; one standard, and one low angle for planing end grain. I use mine for flushing joinery, softening edges, cleaning up defects and other miscellaneous tasks. Sure, you can spend hundreds of dollars to buy high end hand planes, or invest countless hours into perfectly restoring a neglected flea market find, but my goal with hand plane restoration is simply to bring them to a state where they can perform the simple tasks that I ask of them. I have developed a simple sequence that can achieve that task, and I can generally bring a block plane or small bench plane to a usable state is about 30 minutes of working time (even if it is badly rusted), not counting the rust-removal soak time.

It starts with a good bath. First, disassemble the parts and soak them for 24 hours in a solution of vinegar and salt, at a ratio of one tablespoon of salt per cup of vinegar. Vinegar alone will work, but the salt accelerates the process and produces a better result.

Rust removal results. You’ll be amazed by how the rust will crumble off the iron. After soaking in the vinegar and salt mixture, most of the rehab work is already done.

Scrub the remaining rust and grime. Using a brass brush, scrub the metal pieces to remove any remaining rust. After a good soak in the vinegar solution, this step should go pretty quickly.

Repair any cracks in the knob. If there are hairline cracks in the knob, hit them with some thin CA glue to stabilize the wood. If the cracks are severe, use some quick set epoxy. After the crack(s) are repaired, lightly sand and apply a coat of penetrating oil finish such as Watco.

Flatten the sole. Using a set of diamond stones or sandpaper, flatten the sole of the plane using a grit in the range of 300 - 600. If it is taking too long to flatten, drop down to a lower grit to speed up the process. You’ll see the pattern on the bottom where the sole of the plane is in contact with the abrasive, and this will tell you when you have achieved flatness. Once you have reached the point where the sole is flat, progress to the next grit until you reach something in the 1200 grit range. You can go higher if you want to make the sole nice and shiny, but you won’t notice any performance improvement in the plane by doing so.

Sharpen the iron. Set the iron in a sharpening jig with the iron protruding 2” past the jig to set the bevel angle to 25 degrees. As you can see I’ve made a simple jig to increase the speed and consistency of this process. Start with 300 or 600 grit, and sharpen to 1200.

Hone the cap iron. Get down to eye level and carefully hone the bevel agle on the cap iron so that the bevel is perfectly flat. This will ensure that even pressure is applied to the iron to support it as it cuts. 300 grit is all you need for this.

Assemble and lubricate. Put the plane back together, lubricating any moving parts using a dry lubricant. Wax the bottom of the plane using a furniture paste wax.

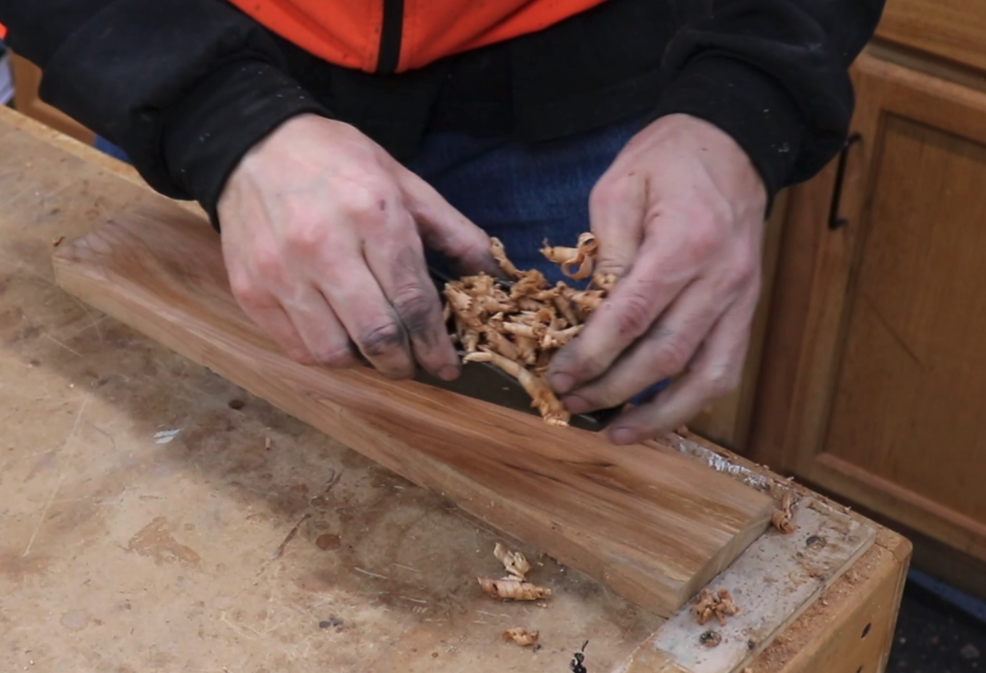
Enjoy! Use the plane to make some beautiful ribbons of wood.
If you would like to see a video of this process, check out the ToolMetrix YouTube channel.


