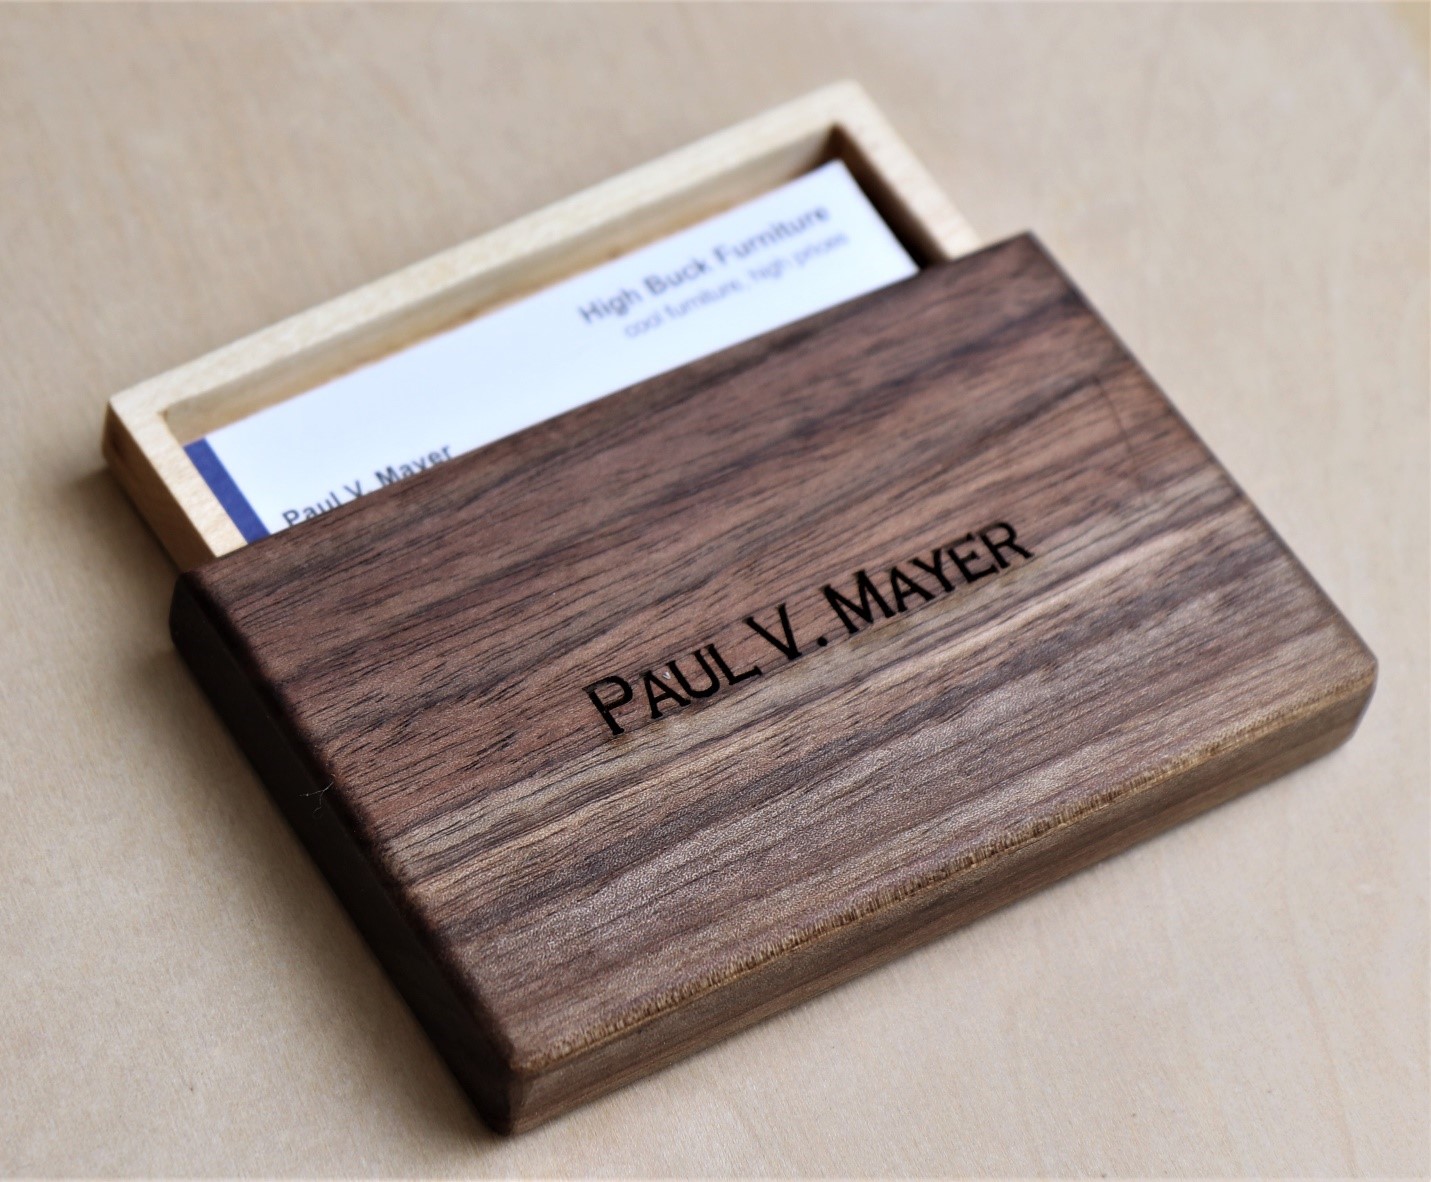
A wooden business card tote is a distinctive gift or, if you make one for yourself, a way to identify yourself as an artisan.
This project involves a bit of precision, but the approach that I suggest allows you to “sneak up on it”, so getting that perfect fit it is not nearly as daunting as it might seem. The tote includes a couple unique attributes that set it apart.
First, the concealed rare earth magnet keeps the drawer closed when you are stowing the item. That’s helpful because you don’t want your credit cards sliding out.
Then, the finger-hole provides a natural mechanism for extracting the drawer to access the contents when you’re ready and also enables you to easily pop the business cards up from the bottom for easy access.
I’ll provide an overview of the process here. For additional details, scaled drawings, and Q&A, check out the full video on the ToolMetrix YouTube channel.

The dimensions provided accommodate a standard business card. With a slight modification in size, the project can also be easily scaled up to use it as a credit card wallet.


Use the drawings as a guideline as you build your business card holder.

Rip your box materials. Using a table saw or bandsaw, rip enough materials to form the box.

Sketch the cut lines for the middle layer. These will need to be sized to accommodate the inside box.

Cut to the lines. I have found that a bandsaw works best for these cuts because it doesn’t blow out the thin material like a table saw might, and it is easier to cut to a straight line than it might be on a scroll saw.

Drill for magnet. Use a 3/8” forstner bit to drill a recess for a rare earth magnet. Install the magnet using super glue.

Cut out access opening. Using a scroll saw, cut out the semi-circle opening that will be used to access the inside box.

Glue and clamp the box. Using PVA glue and spring clamps, put the outside box together.

Draw cut lines on drawer. Using an actual business card as your template, trace your inside lines onto the drawer bottom material.

Cut out inside of drawer. Using a scroll saw, cut out the opening in the business card drawer.

Cut to length. Stack and cut the drawer components to length using a bandsaw.

Glue and clamp drawer box. Using a thin bead of glue, assemble the drawer box.

Create a finger hole. Using a forstner bit in a drill press, put a 3/4” access hole through the drawer bottom. This will allow you to pop the business cards out of the drawer.

Sand all components. Make sure that everything is flush and smooth.

Install magnet in drawer. Drill a recess for a rare earth magnet, and install using super glue (CA).

Round over box edges. You’ll want the tote to slide easily in and out of your pocket, so round the corners over gently using a roundover bit in a router table.

Apply your favorite finish. Use a small rag and a screwdriver to reach the narrow confines of the inside of the box.

Personalize. This is one of those projects that just begs for personalization.
If you have a laser engraver, now is a GREAT time to use it. Add a name, logo, or anything else that would make it more personal for the recipient. Personalization is also a great way to generate additional profit margin for a woodworking business.
For additional details on this process or to ask questions, check out the video here.
Paul Mayer is a guest blogger. He operates under the name "ToolMetrix" (because of his passion for detailed tool analysis) and his work can be found on his:

YouTube Channel: (youtube.com/c/ToolMetrix)
Instagram Feed: (instagram.com/ToolMetrix)
Facebook Page: (facebook.com/ToolMetrix)


