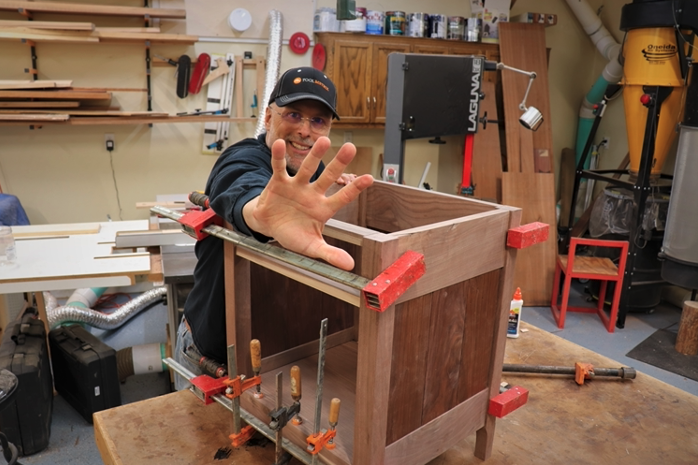
Woodworking glue-ups can be complicated, which causes stress for many woodworkers. The risk is that you are unable to complete the assembly before the glue cures, which means that you are left with a piece that either isn’t square, or worse, needs to be discarded completely. To help ease your stress going into your next complex glue-up, I’ll share five tips that can simplify the process.

- Glue in stages. Most large woodworking assemblies can be done in multiple phases, which allows you to focus your attention on getting a subset of the joinery aligned without worrying about trying to get everything to come together perfectly at the same time. Virtually any furniture project will have at least one round of sub-assembly work that can be completed before the final project comes together, which not only leads to a better project because you can give more attention to each joint, but it makes the process much less stressful.

- Choose the right glue. Everyone has their own go-to glue that works for them in most situations. I normally use Titebond 3 because it’s strong, food-safe, and provides enough open assembly time for most applications. But when I’m working on a complex assembly with numerous joints that must be glued in a single step, I use Elmer’s Glue-all, which incorporates the same PVA base as most woodworking glues but doesn’t have the drying accelerator that most carpenter glues use (the drying accelerator is what makes it a carpenter’s glue). It’s just as strong as a carpenter’s glue, but it provides about twice as much open assembly time. For even longer open assembly time, you could try Liquid Hide Glue, but I keep a bottle of Elmer’s Glue-all on hand because it’s cheap and offers long shelf life.

- Label everything in multiple places. To make things easy on yourself, and prevent goofs during assembly, label everything possible in obvious locations so that you visually know how things go together. There are many situations where you could assemble a piece in multiple ways, but only one approach will produce a piece that looks correct. Once the glue starts to set up, you will want to move quickly and efficiently, which can lead to assembly errors if you haven’t built your own assembly manual by documenting the pieces.

- Dry Assembly. The old adage says that the best way to get to Carnegie Hall is to “practice, practice, practice”, and that advice applies to complex assembly as well. Lay out everything just as it will go together and set your clamps to just the right size so that you don’t have to fuss with them when the glue is drying. For a particularly complex assembly, I will occasionally go through the dry assembly run twice, just to ensure that I am moving with clarity and purpose when the glue is applied.

- Check and double-check for square. After everything is assembled with glue, don’t forget to check for square. With all the precautions taken in the previous steps, it would be a shame to end up with a project that wasn’t square, especially if it will be fitted with drawers or doors that will rely upon it being square. If you end up with a case that is out of square it can make every remaining step in the project much more complicated. I check the corners using a square for a “quick check”, and after everything seems to be square, I check by measuring each diagonal. If the diagonals are different by more than 1/16” on a large cabinet, I will loosen a couple of clamps and make an adjustment to improve the squareness.
By taking all of these steps you will end up with a high-quality project that you can assemble at leisure rather than in a panic. To see additional detail on these steps, check out the ToolMetrix YouTube channel.


