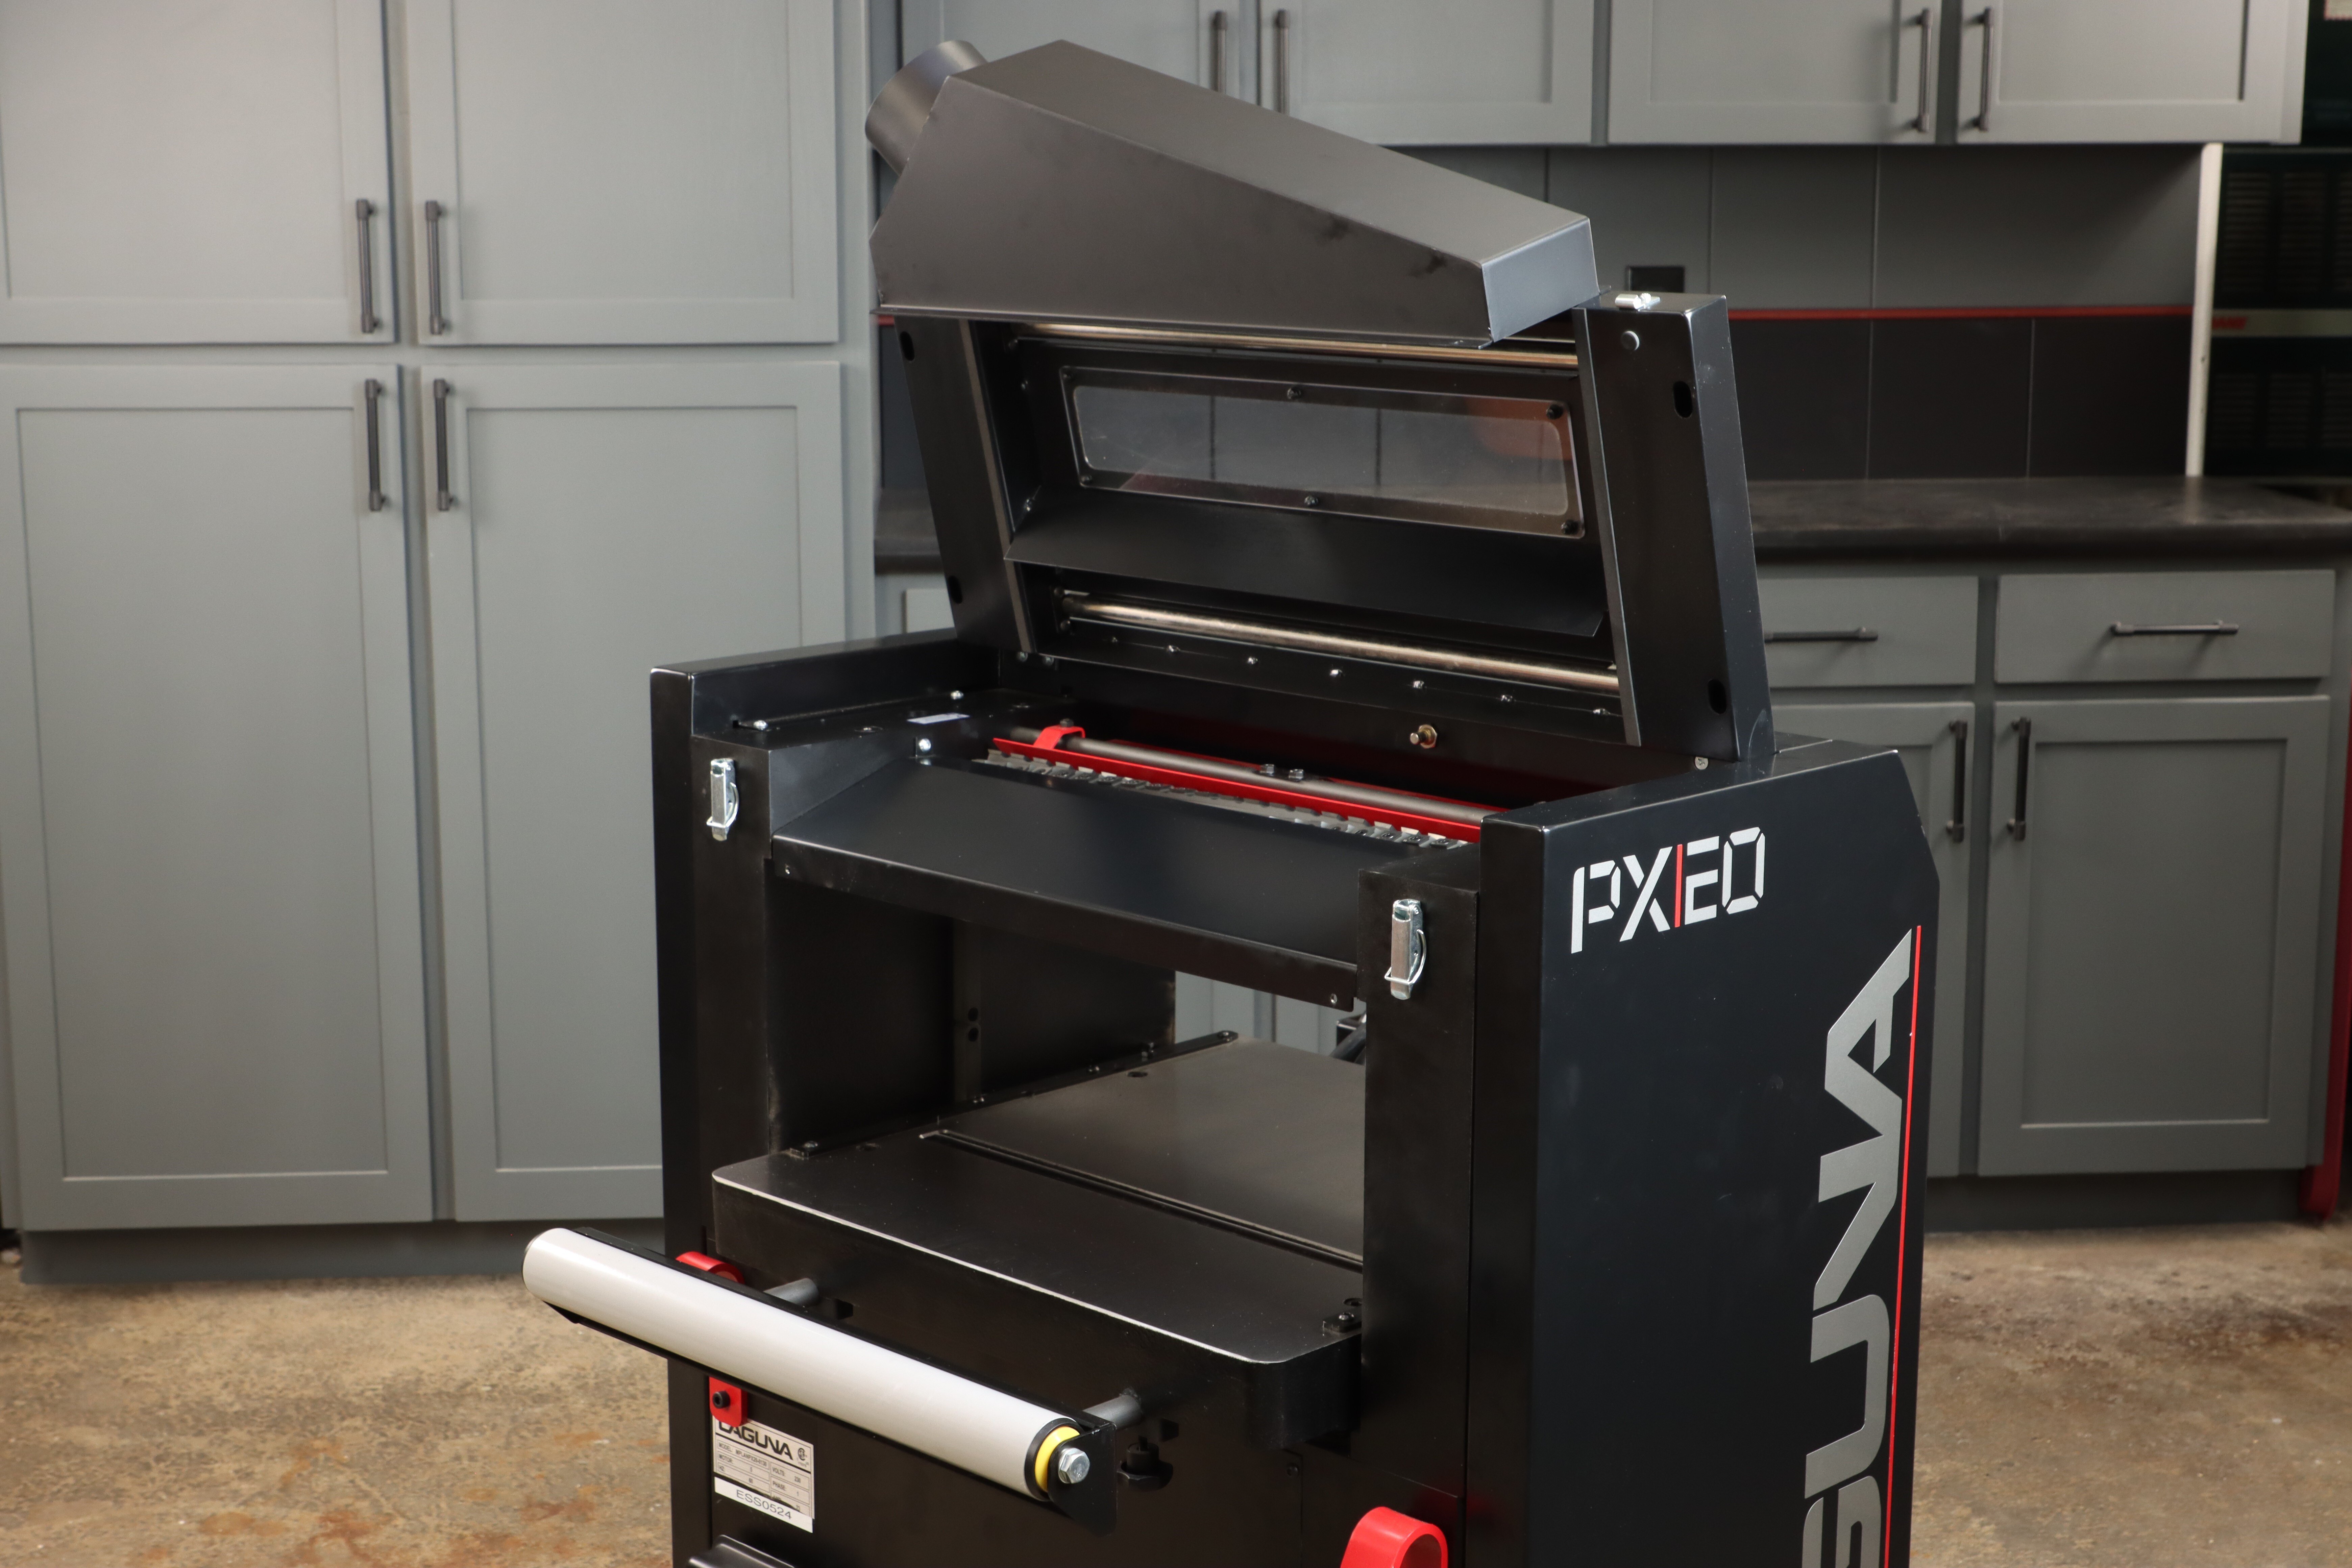
Revolutionary Planer Design. The PX|16, PX|20, and PX|22 all feature a helpful hood to allow access to the cutterhead. It’s a clever design that’s far superior to other models. Easily inspect the carbide knives or add a couple drops of oil to the lube points. It’s all within easy reach, and the hood stays open thanks to a retractable tab inside the machine.

Open the Hatch. Just open the latches and remove a couple Allen bolts to lift the hood for inspection or maintenance. Material return rollers and a sight window on top of the planer enclosure are additional benefits of this machine. The dust port as equipped from the factory is ambidextrous and attaches easily to a 4” hose fitting. That’s convenient for many users, but if you want even better dust collection from your planer, consider the following modifications.

Upsize the Fitting. If your dust collector can accept a 5” flex hose, it will improve the overall collection from a wide planer. By the same logic, it may be tempting to plumb a 6” flex hose directly to the planer, but that won’t work. There simply isn’t enough clearance for a bulky 6” fitting right at the dust shroud (unless it’s an upswept fitting), in fact lumber exiting the planer could snag on it. Luckily, to make the 5” conversion, all you need is a common hardware store “Fernco” style plumbing fitting and a length of 5” flex hose. Take your D.C. fittings to the plumbing isle of a big box store, and you’re sure to find one that fits. I just snug mine up for a good friction fit. That way, I never have to adjust the hose clamp.

Seal the Cutterhead Chamber. The Sheartec II cutterhead really is a technological marvel. With deep gullets and 4-sided carbide inserts, it also leaves a fantastic finish. The engineers paid a lot of attention to sealing off drafts with foam weatherstripping. I took the idea one step further by adding an automotive-style rubber gasket to the red plenum, as shown. Clean the metal and apply the self-adhesive gasket from wall-to-wall inside the planer. I tested 10-15 different mods on this planer, and luckily the simple fixes worked best.

Direct the Airflow. You’re really not sealing off the cutterhead, as there’s plenty of incoming air. Ideally, the air would be directed and funneled over the cutterhead for optimal collection, and that’s precisely what we’ve accomplished. The gasket material needs to be the heavy-duty rubber type and measure about 3/8” thick. Width is less critical, and it’s usually about ½”-5/8” wide. Trim around obstacles as needed, install the gasket, and check for a good seal through the sight window.

Optional Dust Port Mod. Many of the mods I tested were to change the exit path of the dust. I tried internal baffles with various shapes, including several with curved parts for more laminar flow. None of those tests improved the (already good) factory dust collection. The final mod I tried was to cut a hole in the narrow end of the dust chute and rivet a rubber flap inside. The theory was to create cross-ventilation to sweep the pocket of low pressure inside the shroud. Well, this time, it worked! Now, there’s no dead spot inside the shroud, and dust collection is flawless. While the first two mods don’t alter your planer (or warranty), this one required cutting metal. So, I would urge you to try the simple fixes first. Depending on the power of your dust collector, you may not need this optional third mod.

Only Shift on the Fly. Now that the DC is beyond fantastic, remember the cardinal rule of big planers. Only shift the 2-speed gearbox when the machine is running! This way, you can safely enjoy the fine finish speed of 16 fpm or production speed of 28 fmp. I also love that height adjustment crank handle that conveniently folds out of the way when not in use.

Big Planer, Big Features. Another important feature is the heavy urethane rollers to support lumber as it passes through the machine. The overall footprint with both rollers extended is about 3 feet, yet it’s easy to store against a wall with the rollers retracted. And don’t forget about the integrated Wixey DRO—I absolutely love that feature.

Sheartec II Smooth. There’s smooth, and then there’s Sheartec II smooth. Most lumber types can run full speed through the PX|20 and come out nearly perfect. However, if you have tricky grain like quartersawn white oak, you can shift to the finishing speed for the last couple passes. The result is a glass-like surface that only needs a light sanding before heading to the finishing room.

Height-Adjustable Rollers. Did you know the height of the infeed/outfeed rollers is adjustable? It’s true! The roller bracket mounts to the rods through slightly oversized holes. Just align the rollers to the bed of the planer with a quality straightedge and tighten the fasteners. Or do as I do and set the rollers .020” higher than the bed of the planer to eliminate any trace of snipe! The PX series planers are precision equipment with “industrial art” looks, and they’ve earned a long-term spot in my shop.

|
Willie Sandry is a Freelance Writer, Blogger, and Tool Tester with an affinity for building Arts and Crafts style furniture – everything from kiln drying the lumber to planing, finishing, and sewing the upholstery too. In relentless pursuit of tool perfection, I never leave a tool stock, it’s just not in my blood. I always want to see what can be changed and improved, even if it’s minor. Follow along with his next project build or tool review on his YouTube channel The Thoughtful Woodworker https://www.youtube.com/c/TheThoughtfulWoodworker |