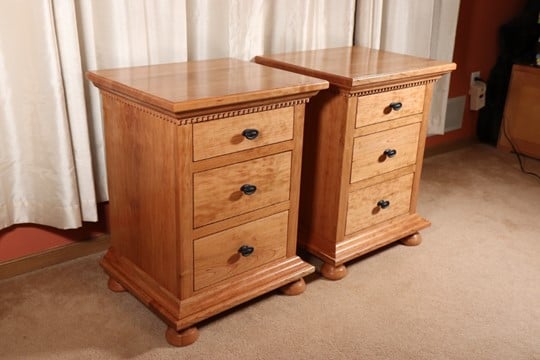
You’ve poured your heart and soul into a woodworking project, and demonstrated your proficiency in the craft. Now it’s time to put apply a finish, and you start to get that nervous feeling because you want a perfect finish that complements your craftsmanship rather than shaming it. Fear not; getting professional results is easier than you might think.

There are a lot of approaches that you can choose from, including a variety of products and application methods that can all produce a great quality finish. I like the water barrier, scuff resistance and overall durability provided by polyurethane. It can be sprayed or brushed on, but the easiest way to apply polyurethane is to simply wipe it onto your project. To make poly conducive to wiping, it needs to be thinned using mineral spirits so that it will flow better. You can make your own wipe-on poly by mixing traditional oil based poly in a 1:1 ratio with mineral spirits. As an alternative, you can buy wipe-on poly that is mixed at the factory for wiping. My favorite is Minwax oil based Wipe-On poly, but there are several commercial product options available, including water based products for low-odor applications.
I’ve experimented with various methods of applying wipe-on poly, and here is the approach that I have found works the best:

It starts with the cloth. Use a lint free cloth that you can buy from a paint store, or as an alternative you can use an old t-shirt rag that has been washed dozens of times. Carefully fold all edges inward so that there are no cut edges that will be used in contact with your project’s surface. Then, soak the rag with poly.

Apply heavy coats on horizontal surfaces. Keep the cloth soaked with poly and apply in straight overlapping passes. You should be able to see a layer of liquid at the surface. Once the surface has been covered, let it sit. It’s important to not overwork the poly, as that can interfere with its ability to flow and settle, which will give you the best surface. You should apply 5-6 coats of wipe-on poly, so don’t worry if the first one doesn’t look perfect. Much of the first coat will soak into the wood, and subsequent coats will begin to build more surface protection. When you apply finish, it’s important to apply an even number of coats on both sides of ever surface. I’ve seen numerous situations where more finish is applied to one side than the other (usually on a table top), and it leads to severe cupping of the surface.

Apply thin coats on vertical surfaces. The horizontal surfaces on your project such as table tops and shelves will generally need more protection from water and abrasion, so the finish on the vertical surfaces is more for appearance. Take advantage of this and apply super thin coats, avoiding the chance for drips and runs to appear as you fight gravity.

Sand between coats. Use a 320 or 400 grit abrasive to sand lightly between coats. I like to use the mesh style abrasives because they do not tend to clog as easily as traditional abrasives. The step removes any dust nubs that may have appeared in the finish, and establishes a flat base for subsequent coats. This is a critical step in producing a high quality finish.

Final buffing. Wait at least one full week after applying the last coat of finish, and use the back of a traditional sheet of sandpaper to buff out the finish. This will remove any tiny imperfections from the finish, and leave the surface feeling like glass. As an alternative, you can use a brown paper shipping for this step.


