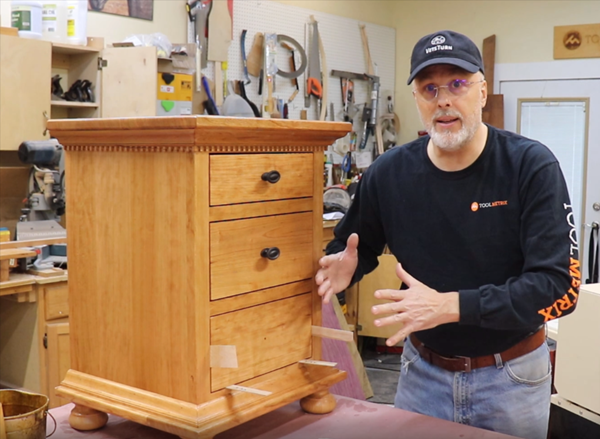
Sometimes a furniture project calls for inset drawers, and it can be a humbling experience to try to install the drawer fronts with a consistent gap around the perimeter. And if you settle for anything less than perfect, you will feel pangs of regret for the rest of your life every time you look at the out-of-whack drawer. Have no fear, it’s easier than you might think to install inset drawer faces with a perfect perimeter gap, every single time.

It all starts with a perfectly square face frame. Fitting a drawer face with a consistent perimeter gap is a LOT easier if you invest the time in building your face frame so that it is perfectly square. If your face frame opening is uneven, then you will be chasing that problem as you install your drawer face.

Precision cuts on the drawer face are critical. Take careful measurements of your face frame opening, then determine the perimeter gap that you feel would look appropriate. I use a gap size of between 1/16” for small drawers to 3/32” for larger dresser-sized drawers. If you size a gap larger than that it starts to stand out as an unintended design element, while a gap smaller than that can lead to a drawer sticking during humid weather. Once the gap has been determined, I cut the drawer width to the appropriate dimensions using a table saw, and clean up saw marks using a light pass on the jointer.

Use shims to position the drawer. After finishing the piece of furniture as well as the drawer faces, drill your drawer pull holes to the appropriate size for your hardware. A drill press works best for this step to ensure that the holes are drilled perfectly straight. Place shims of exactly your gap size around the perimeter of the drawer, and make any adjustments to ensure a perfect fit. If you find that the face frame opening is out of square, then you can make a minor adjustment on the drawer by using a block plane to follow the lines of the drawer opening.

Temporarily attach the drawer face. Use the drawer pull hole to attach the drawer face using a screw. Take your time on this step and ensure that you are driving the screw as straight as possible into the drawer box, because any misalignment will cause the drawer face to shift. This will be used to hold the drawer face in position as you pull it out to permanently attach it from the inside of the drawer.

Attach from inside. Pre-drill screw holes through the drawer box in each corner, using a countersink drill bit to allow the screw head to be installed flush with or below the surface of the drawer box for a nice clean installation. Attach the drawer front with a single screw, pre-drilling into the drawer front to prevent cracking. Check the alignment of the drawer face by closing the drawer after the first screw is fastened an checking the gap. If you need to make an adjustment, loosen the screw, tap the drawer into the proper position, and attach using a different screw hole. Once you have established the perfect alignment with one screw, install the others to permanently lock the drawer face into position.

Remove the temporary screw that was installed through the drawer pull hole, and install the drawer pull.
Then simply repeat this process for all of the drawers in your project. If you’d like to see a video on the complete process, check out the video on the ToolMetrix YouTube channel.


