Gnomes have become a popular holiday icon, and there’s no better way to make one than on your wood lathe. This is a great project to use up those special pieces of wood that are accumulating in the scrap bin, so set up your lathe and keep turning until you’ve used up your supply.

Getting started. Mount a piece of wood between centers. You can make these any size that you want; the piece that I started with was a chunk of walnut, approximately 2” x 2” x 9”. To be sure that your project will be stable and not prone to cracking when it is complete, I suggest using dry wood for this piece.

Make it round. I used a spindle roughing gouge to bring the piece to a cylinder, with no flat spots remaining.

Shape the body of the gnome. Use a spindle gouge or a skew chisel to form a barrel shape for the gnome’s body. Leave the wood as close to the full diameter as possible. Forming these gentle curves is a great skill building activity if you are new to turning.

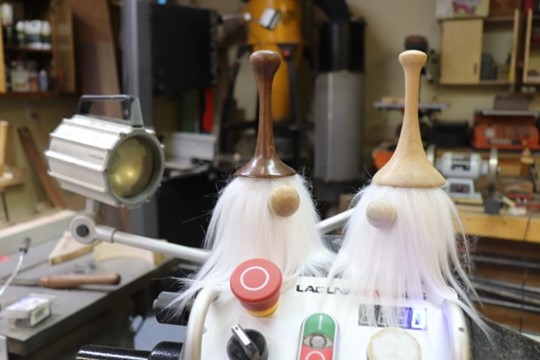
Form the underside of the hat rim. I have found it to be best to undercut the rim a bit, which will allow the beard to tuck up under the rim for a nicer finished look. A small spindle gouge does a great job with this step.

Shape the hat. Using a spindle gouge, form a gentle concave curve to establish the profile of the hat. An exaggerated tall hat gives a nice whimsical look.

Form the tassel. Using a skew chisel or spindle gouge, form a ball shaped tassel at the top of the hat. Trim down the waste at the top of the hat to a small contact point to make it easier to clean up after you remove the waste piece.

Sharpen and clean up. With everything shaped, I make one more light pass with a freshly sharpened spindle gouge to remove any remaining tool marks, and do my best to produce a surface that requires as little sanding as possible. Then, sand everything thoroughly, up to 320 grit.

Apply a finish. For spindle turning projects such as this, I like to use a fast drying friction polish because it gives a nice luster and dries extremely quickly.

Turn a nose. I used maple for the nose because it provided a nice contrast to the dark walnut body. But any species of wood will work fine. Turn a tenon on one end of the nose that will be used to attach it to the body. I turned mine to a 5/16” diameter.

Drill a hole for the nose. As a safety precaution, secure the work piece using a screw clamp while you drill.

Attach the beard and nose. I used a traditional wood glue to attach the nose, and a hot glue gun to attach the beard. Tuck the beard up under the rim of the hat as much as possible to provide a seamless appearance.

Variations. Try different sizes and proportions of the hat to the body, or mix up the species. The example in the center uses a cherry body and a maple hat, where the two pieces are joined using simple dowel joinery as shown with the nose. The beardless look is a nice option as well, and it will snow off your spindle turning skills a bit better with more of the body visible.
To see all of the details of this project being created, check out the video on the ToolMetrix YouTube channel.


