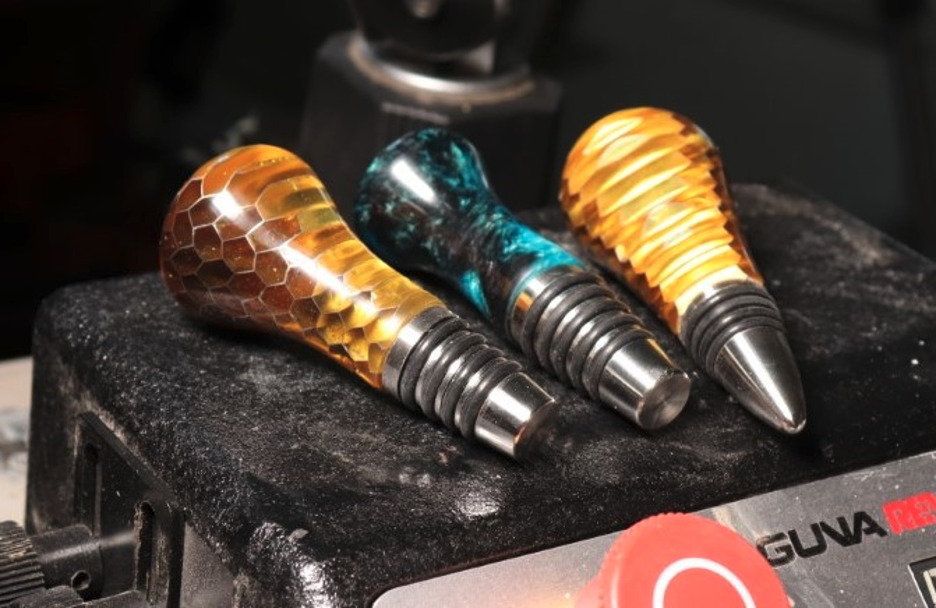
Bottle stoppers are one of the simplest turning projects to make, and they make great gifts or impulse purchase items at craft shows. If you have a lathe, bottle stoppers are an absolute “must-do” project.
To help you get started with turning bottle stoppers, here are the basic materials that you will need and steps to take.

The supplies. First, pick up the right tools and supplies for turning bottle stoppers. I recommend a high quality starter kit from Niles Bottle Stoppers that will give you everything that you need to get started. The “game changer” in this kit is the mandrel that allows you to complete 100% of the project on the lathe, without having to cut any waste off and sand when you remove it from the lathe. The mandrel will increase your quality and efficiency in a meaningful way. Also, the kit includes high quality drill bits that are perfectly sized for the threaded inserts, as well as a sampling of stoppers in various styles. Niles also offers a variety of resin blanks if you want to introduce some resin into your lineup. If you’d prefer to stick with wood, turning stoppers is a great way to use up some of that beautiful scrap material that you have stashed away.

Choosing a blank. Start with a blank of approximately 1.75” x 1.75” x 2.75” long. The exact size isn’t critical, but I wouldn’t suggest going much taller than that because you might end up with a wine bottle that is too tall to fit in a refrigerator. Any combination or resin and hardwood (including pure resin or hardwood) can work well for this project.

Preparing the blank. Start but placing the blank into a 4-jaw chuck, bottoming it out and locking it securely. Then place a 1” Forstner bit into a Jacob’s chuck, and use that to flatten the bottom. Penetrate just far enough to ensure that you have flattened across the surface.

Drill for insert. Using a 7/16” bit drill a hole that is slightly deeper than the height of the threaded insert.

Glue and press insert into place. Put a dab of polyurethane glue into the hole, and use your live center to press a dampened threaded insert into place, countersinking it 1/32” below the surface.

Let it cure, then mount and turn. After 8 hours of curing, the blank can be safely mounted onto the mandrel for turning. The tailstock should be used to secure the blank as long as possible as you turn it. If you are turning resin as I am here, I encourage you to use a negative rake rake cutter from Easy Wood Tools as it is the best way that I have found to produce a perfect, glass-like surface on resin.

Sand. I recommend using mesh sandpaper for turning projects because it doesn’t easily clog and it lasts far longer than traditional abrasives. For sanding resin, wet sanding with light pressure is the best way to prevent scratching and produce a perfect surface.

Apply a finish. I prefer to apply Mylands Friction Polish at a high RPM because it provides a great luster and you can build up coats quickly. Polyurethane is a good option on these as well.

Attach the stopper. The threaded insert makes it easy to spin the stopper into the turned piece, and remove it later if needed. I prefer to use the stoppers from Niles because they are high quality solid stainless steel with FDA food compliant nitrile O-rings.

Get ready to make more! As soon as you give one of these to a friend, or post a picture on social media, you will have to be prepared because the orders will come rolling in.
If you’d like to watch a complete video of this process, be sure to check out the ToolMetrix YouTube channel.
To learn how to turn a copper and wood barrel stopper read this blog: https://info.lagunatools.com/turn-a-copper-and-wood-barrel-bottle-stopper


