
When finishing a porous hardwood such as oak or walnut, the open pore structure can cause your final surface to appear coarse and rippled rather than silky smooth. And worse, if your woodworking buddies notice this poor surface quality in your project, that can become fodder for harassment that you simply don’t want to deal with (I recently witnessed such a scolding, which is why I’m writing this article!).
There are two common approaches to filling the grain on a table top. The first is painstakingly slow, and involves wet sanding a slow cure finish such as Danish Oil to create a dust/finish slurry that fills the pores. It works, but it might take 5-6 coats of sanded finish before the pores are completely filled flush to the surface of the wood depending on the size of wood pores, and a long dry time between coats because of the volume of finish that has to dry. The more efficient approach is to use a commercial pore filler, which provides an efficient, quick-drying approach to filling the wood pores on your table top. I used AquaCoat Clear Wood Grain Filler because it’s simple to apply, odorless, doesn’t shrink, is Eco-friendly and produces great results with minimal effort.
AquaCoat grain filler is easy to use by following a few simple steps.

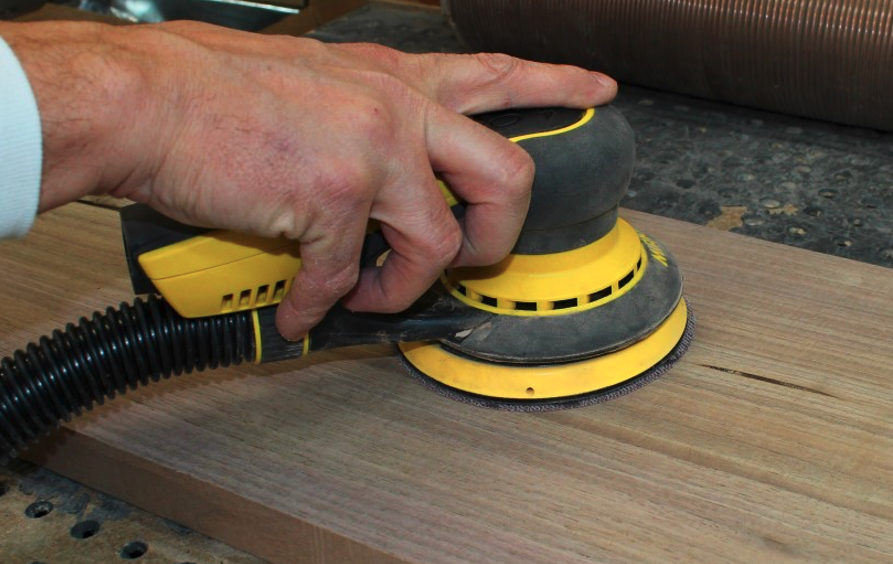
- Surface prep. Sand the wood to 220 grit and use compressed air to remove any sanding dust from the wood pores. This will reduce the risk of an adhesion problem.

- Apply the filler. Using a putty knife, smear on the product in each direction; across the grain, with the grain, and at an angle to the grain. This will ensure that the grain filler penetrates all grain cavities. Let it dry for at least an hour.
- Lightly sand. Using 320 grit sandpaper, lightly sand the grain filler off of the wood’s surface, ensuring that all residue is removed and the surface is smooth. I find that mesh style abrasives work well for this because they allow dust collection to remove the dust more easily while you sand the surface flush. Use compressed air to remove all dust from the surface.

- Examine the surface. Place a light source at a low angle to the table top and get down to eye level and observe the surface. Run your hands across it as well, to determine whether the pores have been completely filled. When working with woods that have smaller pores such as walnut, you might be able to fill the pores with a single application, but more coarse woods such as oak will often require 2-3 applications. Repeat steps two and three as needed to produce a surface where the pores are completely filled.
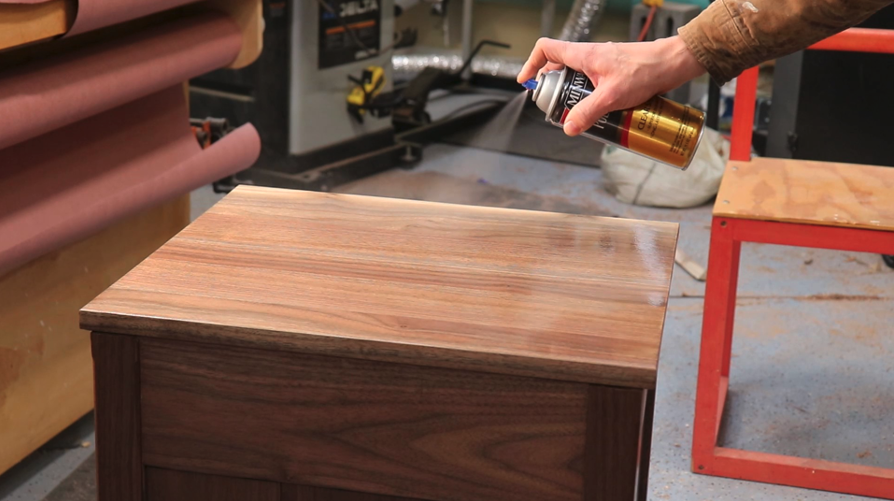
- Apply top coat. Let the filler dry overnight before applying your top coat, to ensure that moisture is no longer evaporating from the filler. Apply top coats as your normally wood, and notice that the finish looks much better than a non-filled surface.
If you plan to apply a stain, you can do that before or after applying the grain filler. If you want the stain to penetrate the wood pores, apply the stain first, and if you don’t, apply it after the grain filler has dried. As with any new finishing operation, it’s always best to test and compare on scrap to be sure that you are not surprised by the results on your final piece.
To watch a video of this entire process, check out the ToolMetrix YouTube channel.


