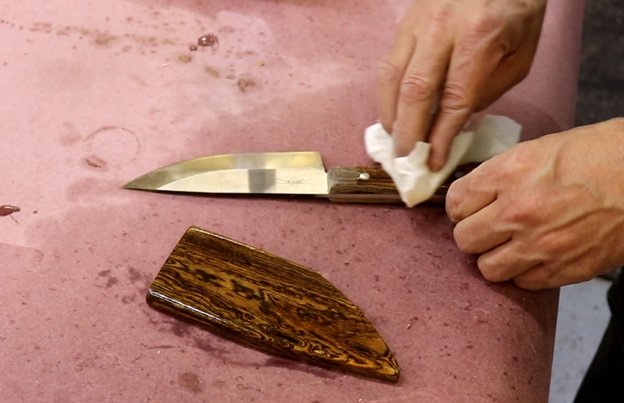
In my last blog article, I got this project underway by adding a Cocobolo handle to a 5” Chef’s Knife Kit from Hock Tools.
That’s a great project all on its own, but now were going to make it more unique and special by making a matching sheath that is custom fit to the knife.
In addition to the “cool factor” of having a wooden sheath made from the same species as the knife scales, the sheath is uniquely satisfying to use because of the perfect custom fit that you will create as well as the secret that holds the sheath in place while the knife is in storage or transport.

The Secret
How can the sheath remain securely in place without a strap or other mechanism to hold it? The secret is the use of rare earth magnets that are hidden inside the sheath during the assembly process.
The holding power of these powerful magnets is outstanding, and provide an element of quality and sophistication to the sheath.

Prep the Stock
Using the same stock as you used to make your knife scales, cut three pieces of wood for your scales. Two of the pieces will be used for the sides of the sheath, and those should be cut to 3/16” thickness.
That will be thin enough to make an elegant sheath, but thick enough to conceal the rare earth magnets. The other dimensions of the outside pieces will be determined by the size of your blade.
For the blade that I used here, I cut the pieces to a rough dimension of 2-1/2” x 7”. The inside spacer piece should have the same outside dimensions, with a thickness that is 1/32” – 1/16” thicker than the thickest part of your knife blade.
For the blade that I used, 3/16” worked well for the spacer piece as well, so I was able to use the same thickness for all pieces.
When cutting tiny pieces on a miter saw, I use the jig shown in the picture to maintain control and keep my fingers away from the blade. These cuts could be done on a table saw using a cross-cut sled as well.

Cut to Rough Outline
Tape the three pieces together, then trace the outline of the knife onto the top piece. Add another line outside of the perimeter of the blade line, with a 3/8” margin.
Then cut to the outside line using a bandsaw, leaving the line for cleanup after assembly.

Recess Time
Mill a recess using a 3/8” forstner bit for each of the 9mm x 2mm rare earth magnets that will be used.
Be sure to drill the recess deeply enough so that the top of the rare earth magnet will sit below the surface of the wood. That way will won’t interfere with the travel of the knife. Use at least 2 rare earth magnets, and more is better to increase holding power.

Glue Magnets in Place
Add a drop or two of cyanoacrylate glue to each recess, and set each rare earth magnet in place.
Even though CA glue dries quickly, let the piece sit for at least an hour so that the glue cures prior to assembly. You don’t want those magnets to move on you.

Glue and Clamp
Apply glue, being careful to not get excessive glue squeeze-out inside of the sheath where it could interfere with the knifes travel.
Use lots of small clamps to get a good even bond around the perimeter of the sheath. Then, use a piece of scrap wood to clean out the glue as much as possible inside the sheath.

Sand and Finish
Carefully sand the sheath through 600 grit and apply your favorite finish. I decided to use mineral oil because I finish most of my kitchen projects with that.
You could decide to use whatever finish you like on this project, however. With the cocobolo that I used, it is so oily that it really doesn’t need any finish at all, but I decided to apply the oil anyway, just to enhance the appearance of the grain.
Click here to watch a video that covers this knife making process:


