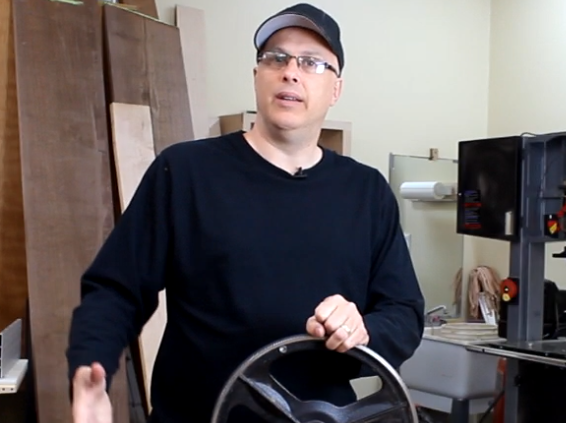
Bandsaw tires are an important contributor to the performance and precision that you expect from your bandsaw. They provide grip to drive the blade, and they endure a lot of wear and tear. If your bandsaw isn’t performing like it should, one of the first things to inspect is the tires. Are there stress cracks beginning to form?
If you remove the blade, can you see ridges where the blade once sat? Does the tire seem glazed and slick, indicating that perhaps the blade won’t get a good grip?
There comes a time in the life of any bandsaw tire when it needs to be replaced, and when yours reach that point don’t panic. It’s not a difficult job at all.
Rubber vs. Urethane. Your first choice will be to choose the type of tire you will use. In the past, virtually all bandsaw tires were made of rubber, and that is still an option today. Rubber is cheaper and stretches more easily onto the wheel.
On the downside, they don’t last as long, and you have to apply adhesive when you install them, making it a messy job on the installation side and more of a hassle when you remove them. Urethane wheels require no adhesive, last longer, and are easier to remove.
Contrary to urban legend, you won’t notice a performance difference on your bandsaw with either option, other than the longevity advantage in favor of urethane. So, in short, go with urethane tires.
Tools needed. You’ll want to have the following items on hand before you dive in:
- Large bowl of warm soapy water
- Two large screwdrivers
- 2-3 spring clamps
Let’s get started…

Out with the old. If your old tires are urethane, you should be able to slip a flathead screwdriver underneath, and pry the old tire off. Careful to not ding up the wheel.

Soak the new tire. Place the new urethane tire in a bath of hot soapy water for 10 minutes before you install it. This will make it more pliable, and easier to stretch onto the wheel.
Without taking this step, your tire might be very difficult to install, depending on the characteristics of your particular time. Some tires can be installed without this step.

Begin stretching tire onto the wheel. Place a couple spring clamps in place at the point where the tire cannot be stretched further onto the wheel.

Stretch further with hands. With the clamps in place, make additional progress by stretching the tire further into position, taking it as far as you can with hand pressure.

Finish with a screw driver. Slip a screw driver underneath the tire and use it to leverage the remainder of the tire into position. Remove the clamps, but leave the screw driver underneath the tire for the next step.

Balance the tension around the tire’s perimeter. To ensure that the tire has even tension, slide the screwdriver (still underneath the tire) around the perimeter of the wheel a couple times. Then remove the screwdriver.
Install wheel back on the saw. Clean off any soapy residue and let the tires cool off and tighten themselves onto the wheel before using.
For additional details on the process, a full video can be found on the ToolMetrix YouTube channel here.
Paul Mayer is a guest blogger. He operates under the name "ToolMetrix" (because of his passion for detailed tool analysis) and his work can be found on his:
YouTube Channel: (youtube.com/c/ToolMetrix)


