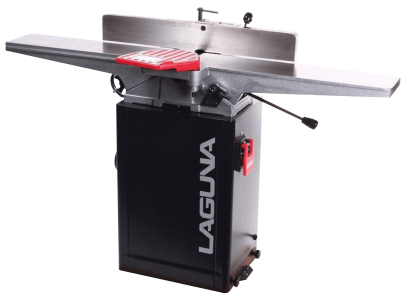
My jointer is one of the most heavily used tools in my shop. I use it for everything from face jointing rough stock, edge jointing to glue up panels, to cutting tapers and rabbets for furniture projects.
When a good quality jointer is operating to its fullest potential, it’s a treat to use, and adds a lot of accuracy and efficiency to the building process.
But unlike many other tools, in my view there’s no such thing as a “pretty good” jointer. It’s either doing its job perfectly, or it isn’t worth the footprint that it consumes in my shop.
When I run a board through my jointer, I expect it to produce an edge that is so flat and crisp that I cannot measure any runout.
To keep my jointer “on my good side”, I regularly run it through a quick tuning process to identify and remedy any problems that might produce less-than-perfect results when I’m milling stock.

Check that the table surfaces are coplanar. The most common cause of accuracy problems on a jointer is fences that are out of alignment. To test for this, set your cut depth to zero and put a good quality straight edge across the beds.
Check that they are perfectly aligned at the front, rear, and cross ways in both directions. Be meticulous here, and if you find a problem, grab the manual for your jointer and make the necessary adjustment.
Some jointers use dovetail ways and can be tricky to align, while others use a parallelogram design and the adjustments are pretty straightforward.
Either way, invest the time at this point because if the beds are even slightly out of alignment, you’re destined for a frustrating experience when using the tool.

Square up the fence. The other aspect of a jointer that you rely upon to be true every time you walk up to the tool is that the fence is perfectly square. With a square fence you can produce crisp edge joint and dead flat panel glue-ups.
If you are off by even one degree, that inaccuracy will be magnified and transferred to your projects. To check this, set a good quality machinist square on the bed of your jointer, and slide it up against the fence. If there is any daylight peeking through, and I mean ANY, make the necessary adjustments.
This would also be a good time to dial in the settings on your quick-stops, which are usually set for 45 and 90 degrees. Having a solid stop setting that is adjusted to exactly 90 degrees means that you can easily return to your perfect fence setup.
That said, even with good quality stops set properly it is a good idea to regularly check it with your machinist square to make sure that something hasn’t vibrated its way out of adjustment.

Lubricate the bed and fence. A nice way to ensure that materials slides nicely across the bed and fence is to regularly apply a lubricant to the bed and fence.
There are a lot of product options to choose from, but the most important thing is to be sure that the product that you use does not contain any silicone, as silicone can interfere with your wood finish.
The two products that I use most frequently for this include Bostik GlideCote and Johnsons Finishing Paste Wax.

Test with a real joint. Checking with straight edges and squares is great, but ultimately you need to be able to produce results with wood. So, run a couple pieces through and carefully inspect for a gap-free joint.
If you need more than the slightest hand pressure to close the joint, you might have to revisit a previous tuning step.
If the jointer is set up perfectly and you still aren’t producing the results that you need, it might be worth doing some research on jointer techniques so that you can have confidence that you are using the tool properly.
For additional detail on tuning your jointer, check out the video on the ToolMetrix YouTube channel:

Paul Mayer is a guest blogger. He operates under the name "ToolMetrix" (because of his passion for detailed tool analysis) and his work can be found on his:

YouTube Channel: (youtube.com/c/ToolMetrix)
Instagram Feed: (instagram.com/ToolMetrix)
Facebook Page: (facebook.com/ToolMetrix)


